Next in this lesson, I will guide you through placing and adjusting windows in Archicad.
1. Open the Window Settings
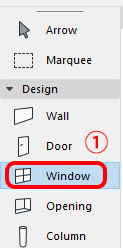
Double-click the Window icon on the Toolbox to open the Window settings dialog.
2. Configure Window Settings
- The Window settings panel is almost identical to the Door settings panel.
| See more: [Practice Archicad for Beginners] Lesson 08 – Model Door
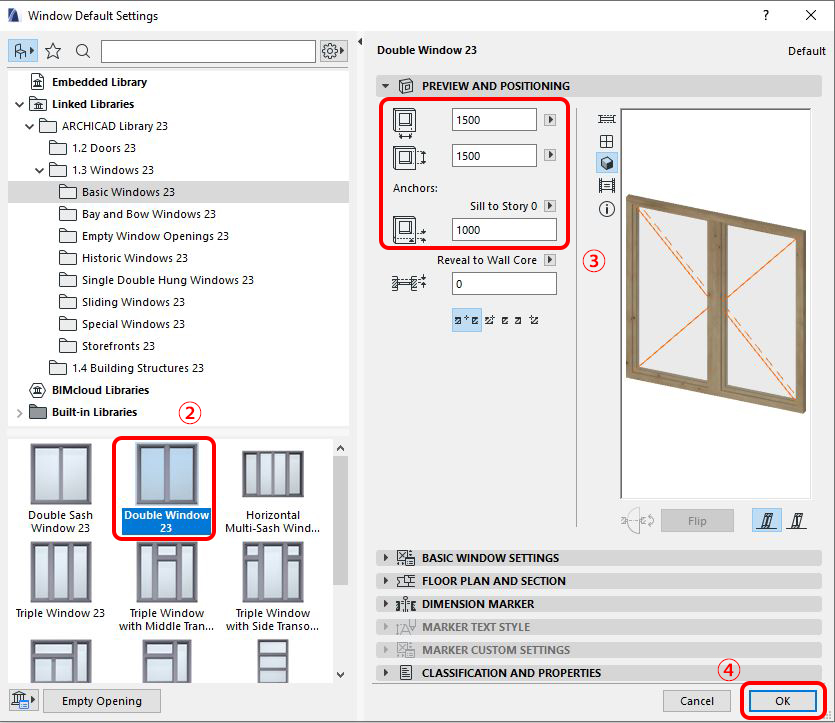
On the left side, you will see a list of window types available in the Archicad library.
In this example, I select Double Window from the Basic Windows folder.Similar to doors, proceed with the following settings:
Set the window width
Set the window height
Set the window level
After completing the setup, click OK.
3. Place the Window
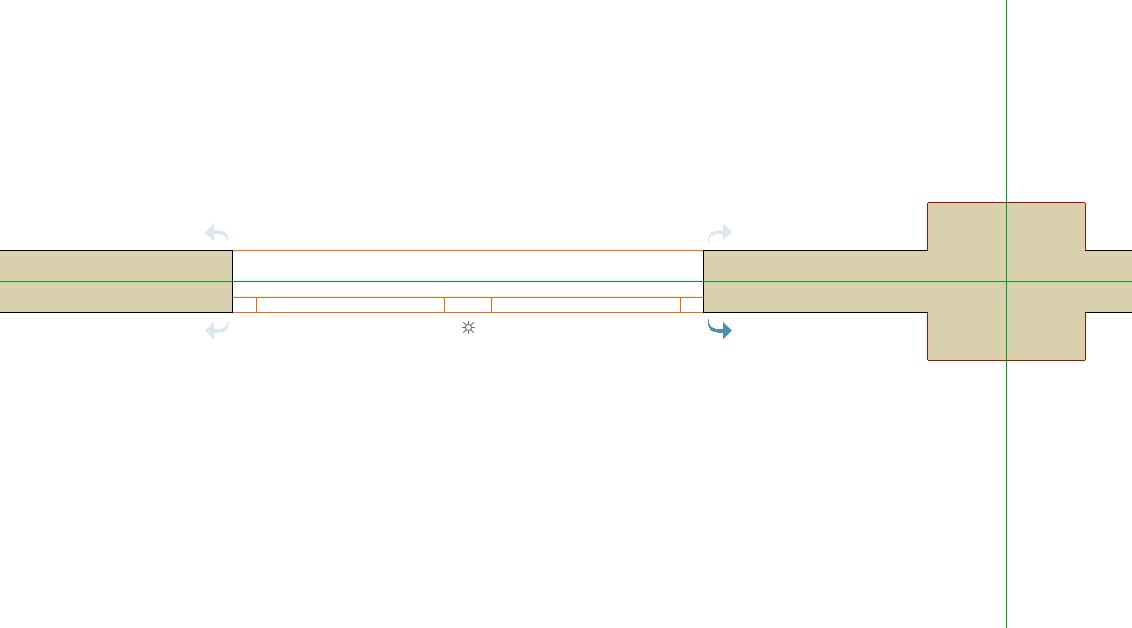
Just like doors, click on the wall where you want to place the window, then click again to choose the opening direction, similar to placing a door.
Change the Window Opening Direction
After placing the window, if you want to change its opening direction, follow the same steps as with doors:
Select the window
Click Flip
Or press Ctrl + M to change the opening direction
Copy and Try Other Window Types
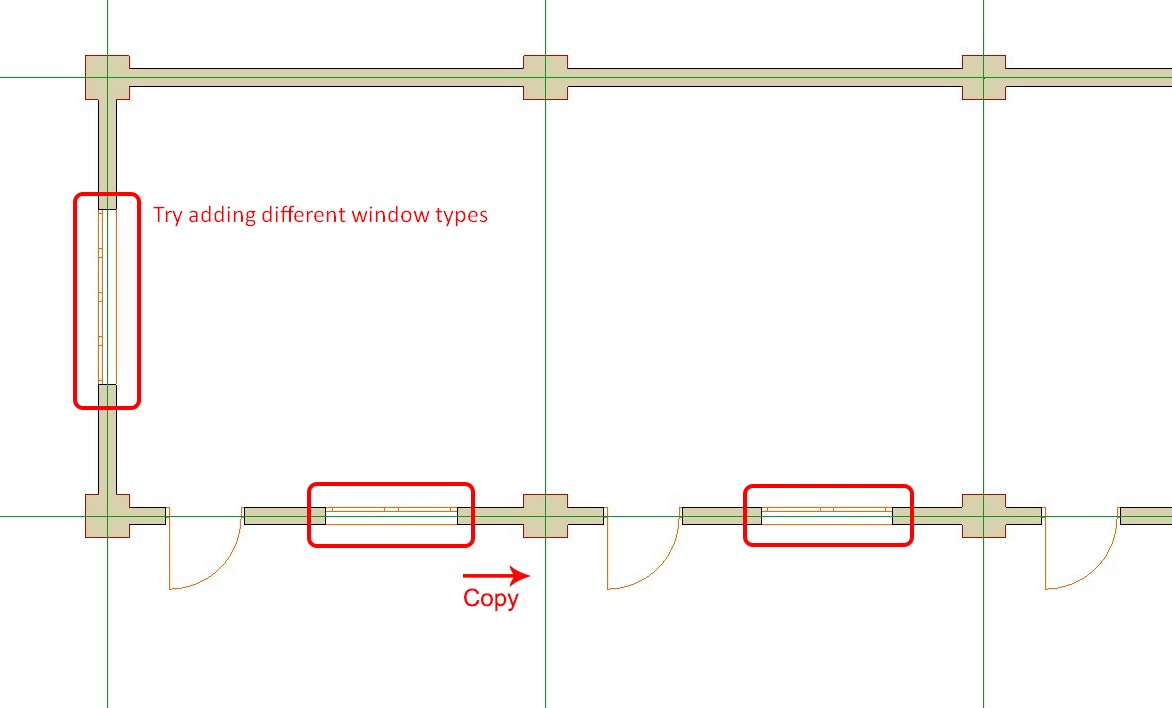
Next, copy the placed window to other positions.
You can also try setting up different window types—the workflow is exactly the same.
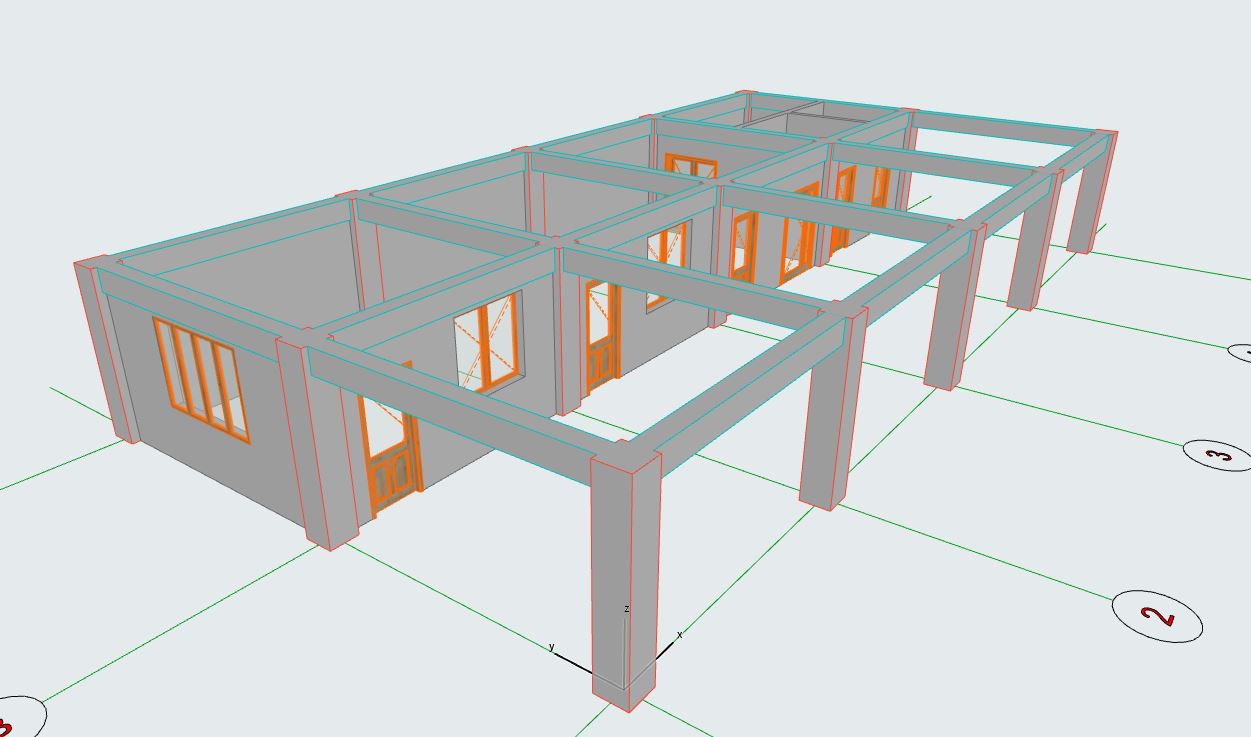
After finishing window placement, press F5 to check the model in the 3D view.
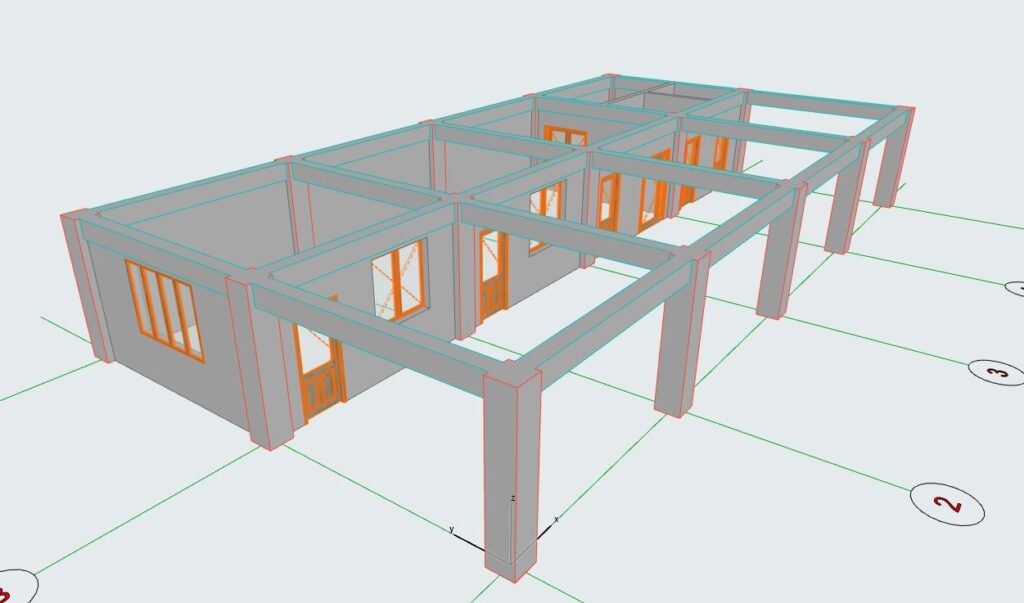
At this point, our model now includes structural elements, walls, doors, and windows.
In the next lesson, we will continue by creating slabs for the building.