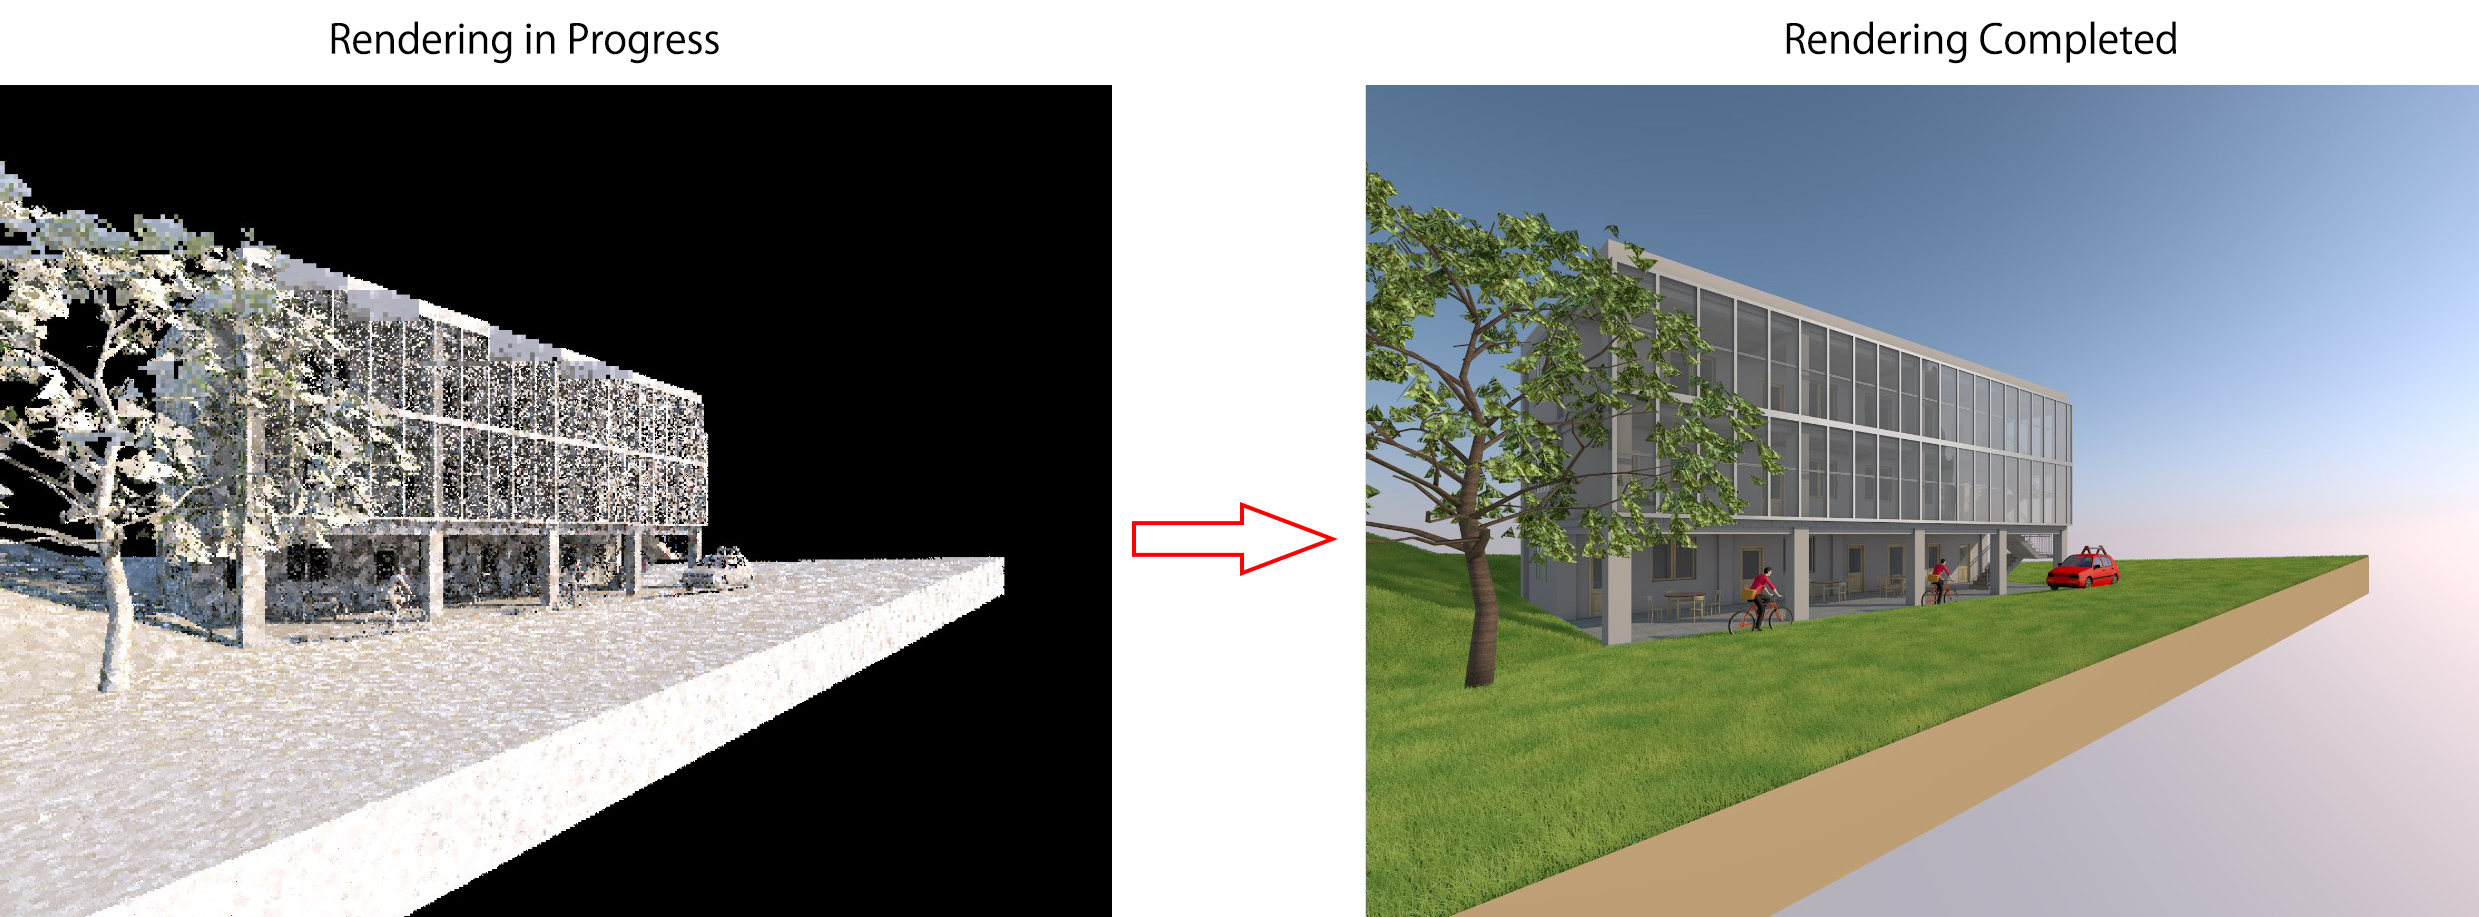
After completing the building model and the surrounding terrain, we will add some objects, trees, and other elements to make the project more vivid.
1. Open the Object Tool
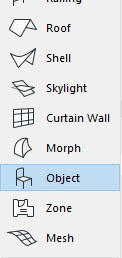
In the 1FL floor plan view, double-click the Object icon on the Toolbox to open the Object Settings dialog.
2. Select an Object and set parameters

Step 1: Select the appropriate Object Folder in the library
Step 2: Select the object you want to place
(in this example, a table object)Step 3: Enter the size parameters for the object.
Step 4: Set the detailed parameters of the object
(select table type, leg type, materials, etc.)
→ Click the arrow buttons to switch between different setting tabs of the objectStep 5: Click OK
3. Place the Object in the project
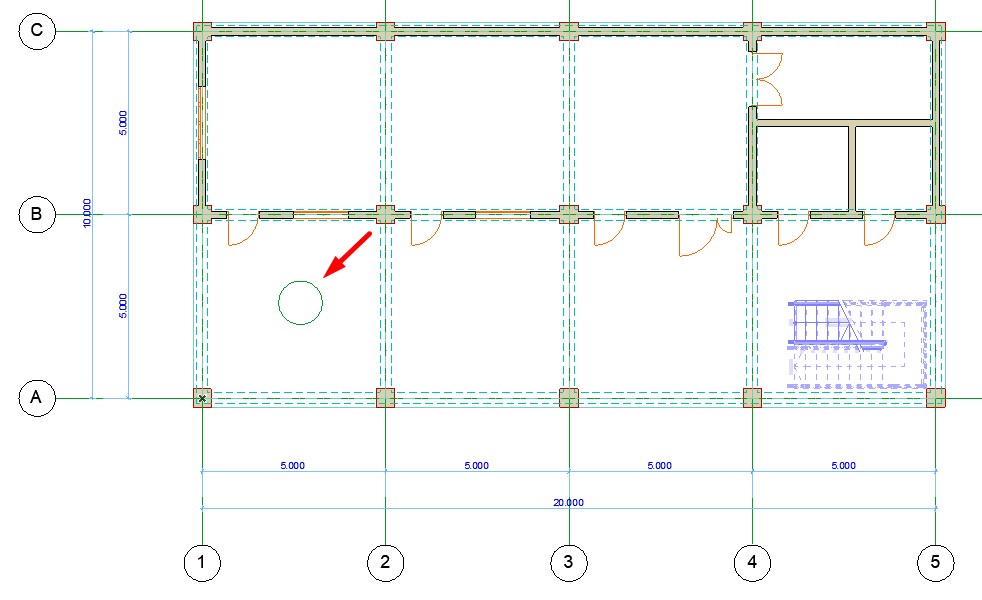
Left-click at any desired position to place the object

Check the object in the 3D view
Note
The detailed settings of each object vary depending on the object type, so the available parameters will be different for each object.
Therefore, these settings are not fixed for all objects.
For each type of object, you should explore the detailed parameters yourself to use them more effectively.
4. Add more objects to the project
Continue adding more objects to the project.
In this example, we will add chairs, vehicles, and trees.
The workflow is the same as placing the table object above.

Add more objects such as furniture, trees, vehicles, people, etc., as you like

After adding more objects, the model will look like this