Rendering is a familiar term for those who have used other architectural software such as 3Ds Max, SketchUp, or Revit.
Similar to other architectural software, Archicad also supports image rendering through a built-in tool called CineRender.
From my personal experience, Archicad’s rendering quality is not as outstanding as 3Ds Max, but it is still acceptable to a certain extent.
In addition, you can use other rendering support software such as Twinmotion to achieve better visual results compared to rendering directly in Archicad.
(The use of external rendering software will be covered in a separate article later. In this article, we will first learn how to render directly in Archicad.)
Step 1: Open the 3D Perspective View
① Open the 3D perspective view (Shortcut key: F5)
Step 2: Open the Perspective Settings Panel
② Open Perspective Settings via:
View > 3D View Option > 3D Projection Settings
(Shortcut: Ctrl + Shift + F3)

In this settings panel, you can adjust:
Camera angles
Perspective mode (perspective with vanishing points or parallel projection)
Sun time settings, etc.

Step 3: Set the Camera View
③ While the Perspective Settings panel is open, hold the Alt key and left-click on the center of the building to set the camera focus point.
④ Continue to hold the Shift key and left-click on the bottom-right corner of the building to set the viewing position.
Step 4: Set Camera & Sun Parameters
⑤ Adjust the settings according to the following reference values:
Camera
- Camera Z: 2600 (camera height)
- Target Z: 4000 (target height)
- Distance: 25000 (distance from camera to target)
- Azimuth: 225.00°
- View Cone: 90.00°
- Roll Angle: 0.00°
- Check Two-point Perspective (two-point perspective mode)
Sun
- Altitude: 30.00°
- Azimuth: 320.00°
⑥ After finishing the settings, click OK.
The camera view will appear similar to the illustration.

Step 5: Open PhotoRendering Settings
⑦ Next, set up rendering for the current view:
Document > Creative Imaging > PhotoRendering Settings


⑧ Click the ↻ icon to quickly render the current view.
This step is used to quickly test whether the view is satisfactory before proceeding with high-quality rendering.
It may take a few seconds to complete.
⑨ Scene: Select the preset Outdoor Daylight Medium
⑩ Environment:
Weather Preset: Select Clear
⑪ Switch to the Size tab to adjust the render image size:
Default: 800 × 600 px
In this example: 2000 × 1500 px
(Note: The larger the image size, the longer the rendering time.)
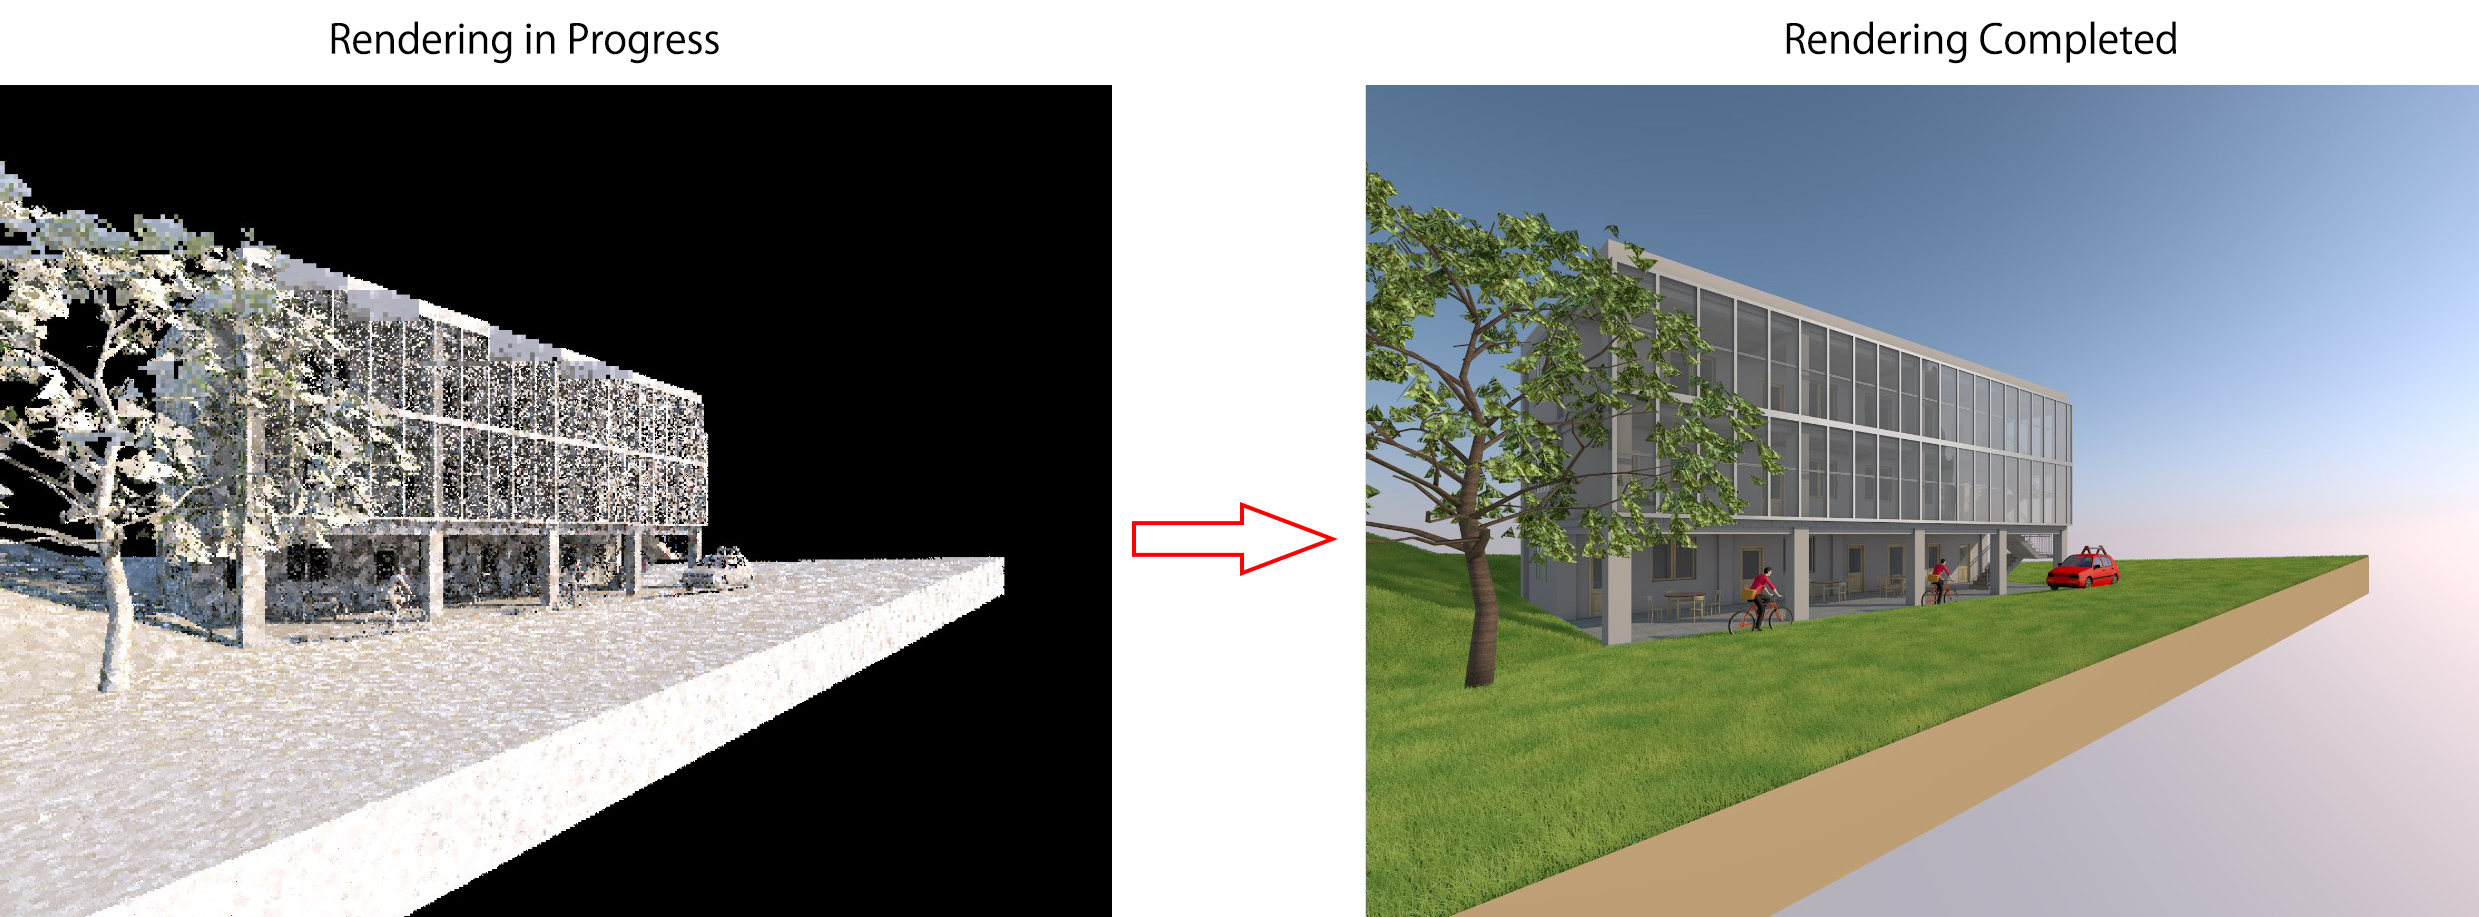
⑫ After completing all settings, click the camera icon at the bottom to start rendering.
Wait for Archicad to finish the rendering process.

After the rendering is complete:
Right-click on the rendered image
Select Save As… to save the rendered image