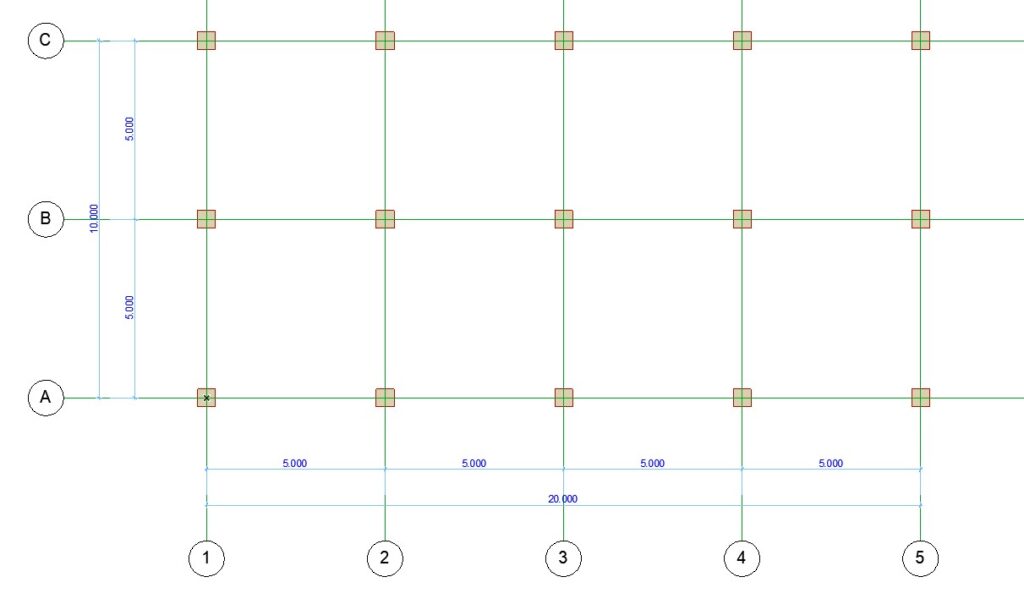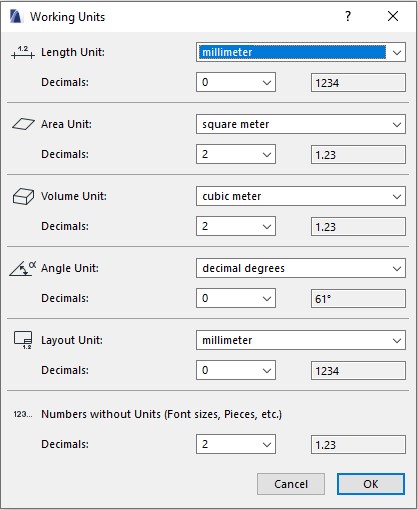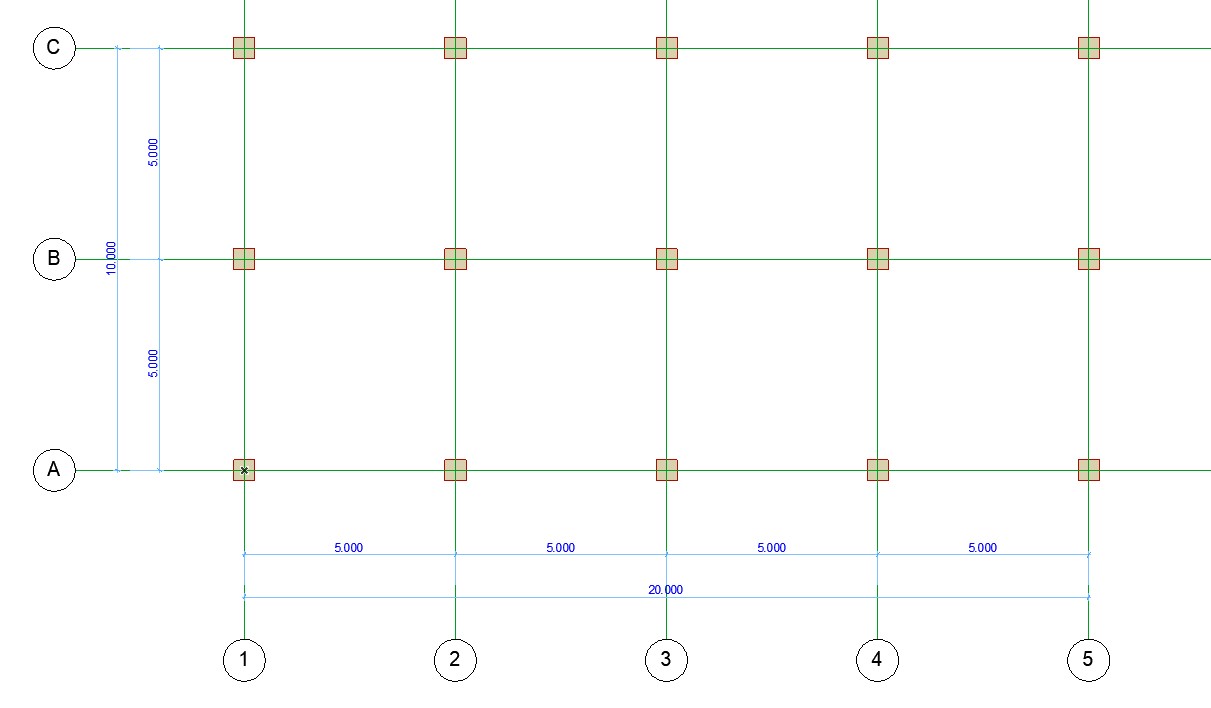
We’ll begin by placing the columns.
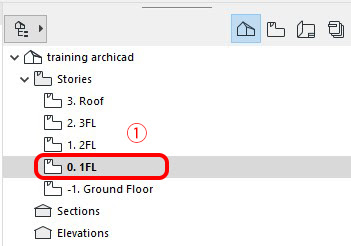
In the Navigator, double-click the view 0. 1FL to open the first-floor plan.
(or select the Column Tool and press Ctrl + T).
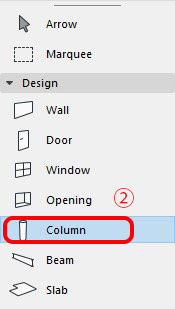
3. Configure Column Parameters
- Column
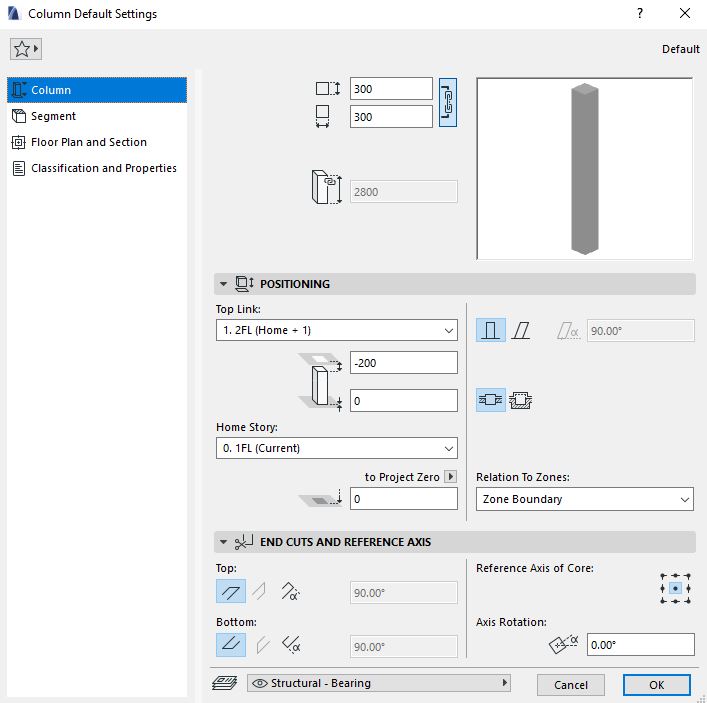
 – At the top, you will see two input fields (e.g., 300 × 300). These define the column dimensions.
If the column has a square cross-section, click the chain icon to lock the two values together.– Positioning:
On the left side, set the height of the column.Currently, the column height is linked to story levels:
Bottom is linked to Home Story (1FL)
Top is linked to Top Link (2FL)In the middle, you’ll see two input fields for top and bottom offsets relative to the linked story.Example:
If the top offset is –200, it means the top of the column is 200 mm below Story 2.
The same logic applies to the bottom.Because the column is linked to the story levels, changing story height later will automatically update the column height.
Example:
Current height from 1FL → 2FL = 3000 mm
Top offset = –200 mm
Bottom offset = 0
→ Column height = 2800 mmIf you later change the 1FL → 2FL height to 5000 mm, the column height automatically updates to 4800 mm.
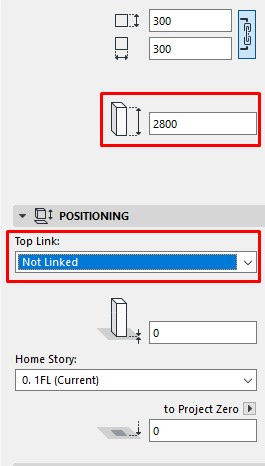
If you don’t want the column height to follow story height, change Top Link to Not Linked, then manually enter the height above.

- Segment
 – Structure
Choose the column shape: Square, Circular, Custom/complex shapes (e.g., steel columns — covered in another lesson). In this example, select a square column.Below that, choose the structural material from the material list (e.g., concrete).– Model
Override Surfaces allows you to set surface materials separately from structural material.Example:
If the column is made of concrete but painted:
+ Structure → set to Concrete
+ Override Surface → set to Paint finishThese two materials are different:
+ Section cut will show the concrete hatch
+ 3D view will display the painted surface - Floor Plan and Section / Classification and Properties
These tabs control column appearance in floor plans and sections, as well as BIM properties.
They involve advanced settings, so they’re not covered in this basic series.
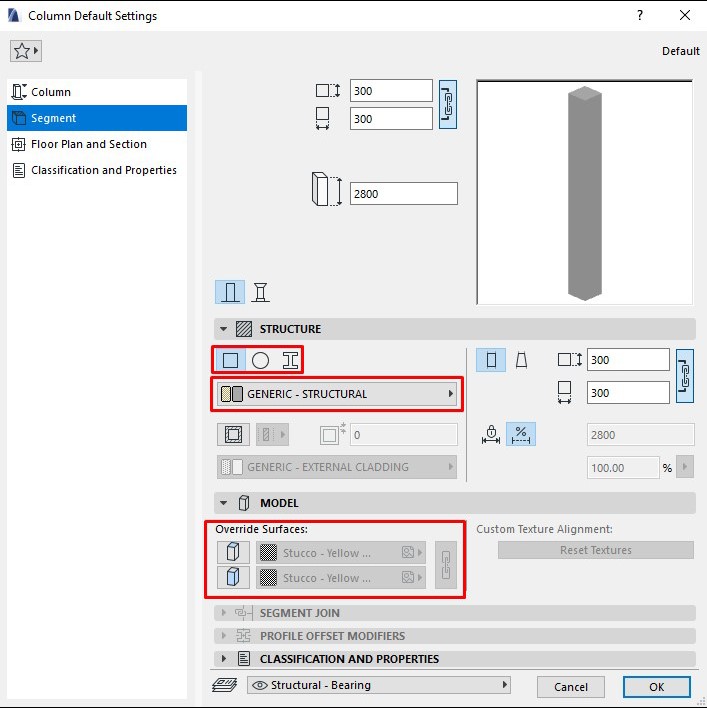 – Structure
4. Placing Columns
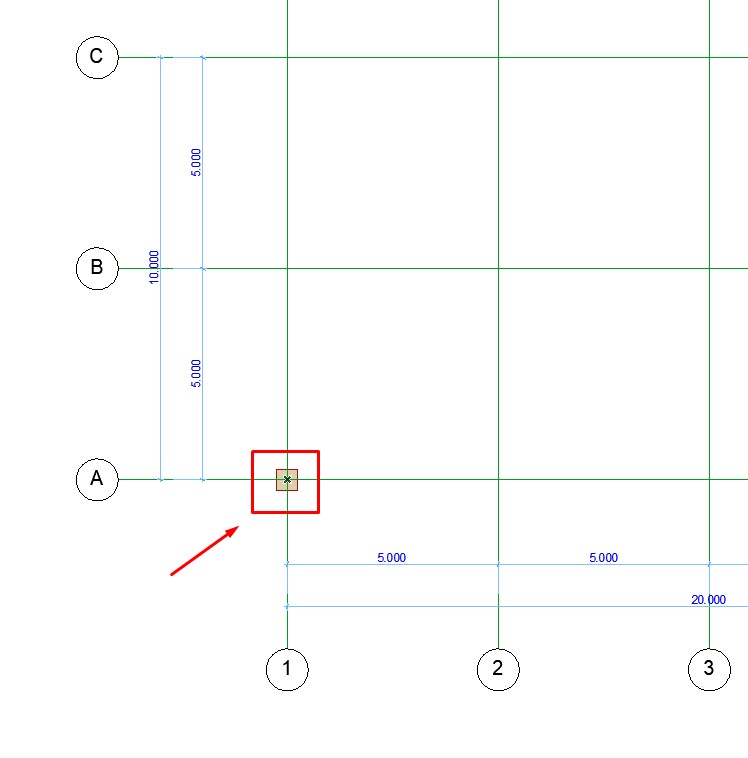
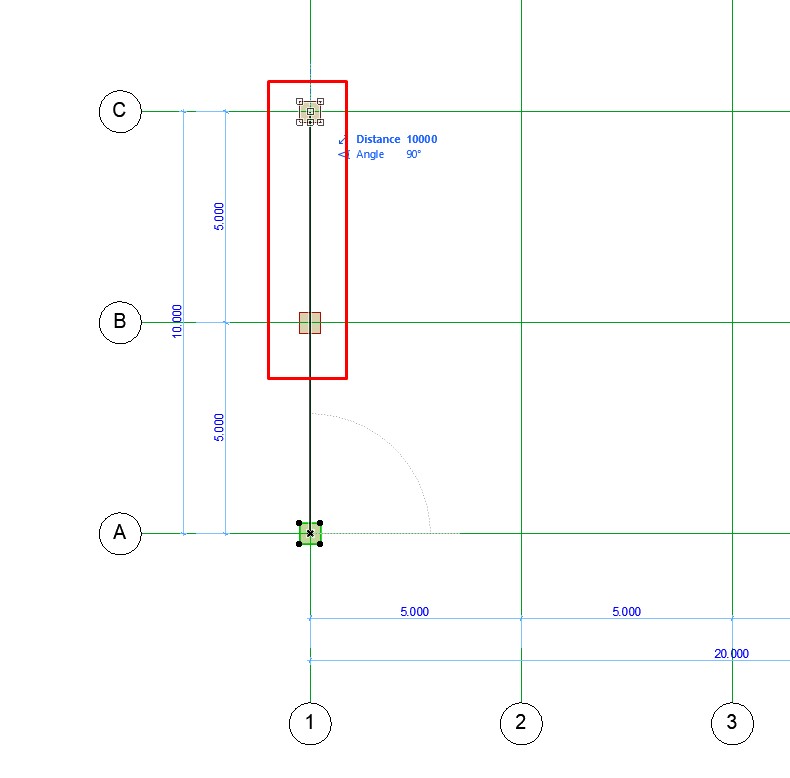
– Copy: Ctrl + Shift + D or Ctrl + D > Ctrl + Alt for continuous copying
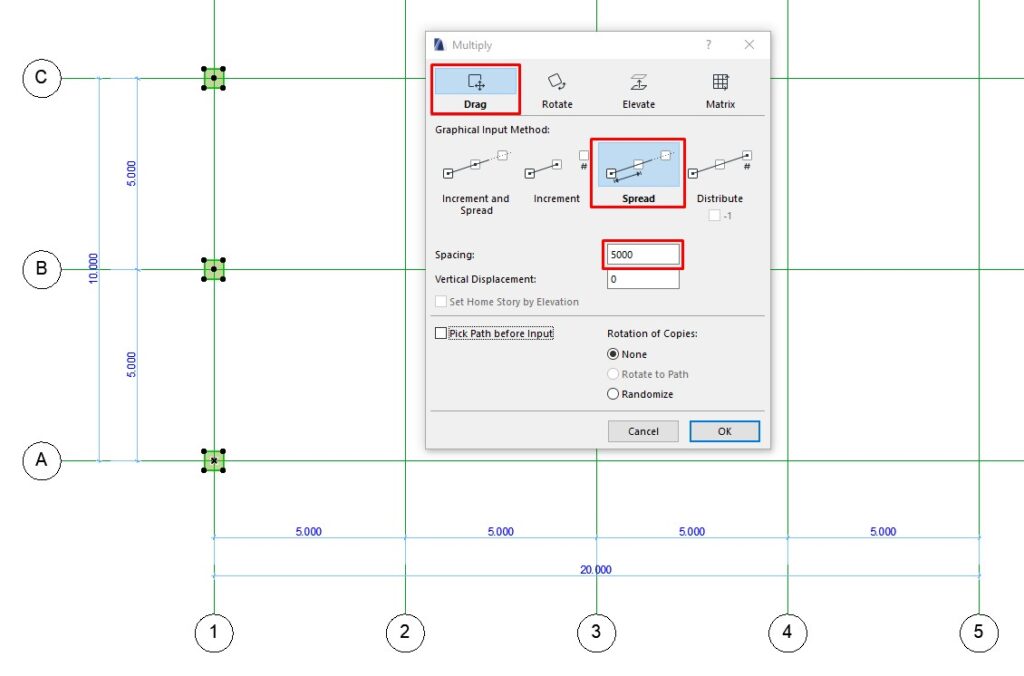
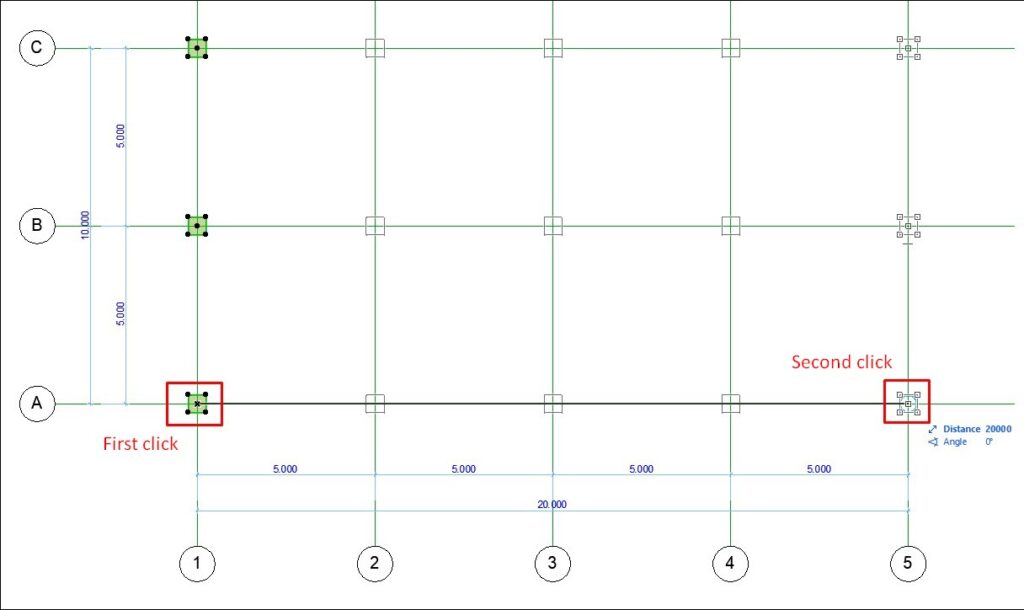
(Your column layout is now placed on the 1st floor.)