In the previous lesson, we learned how to model columns for the building.
In this article, I’ll guide you through modeling beams to complete the structural frame of the building.
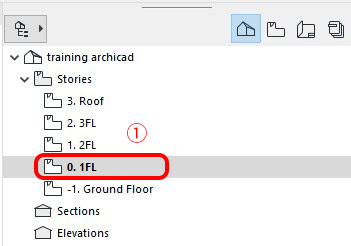
In the Navigator, double-click the view 0. 1FL to open the first-floor plan.
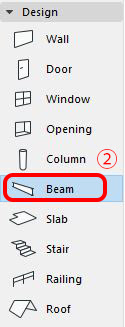
2. Similar to the Column Tool, double-click the Beam Tool icon in the Toolbox to open the Beam Settings dialog
(or select the Beam Tool and press Ctrl + T).
3. Configure Beam Parameters
- Beam
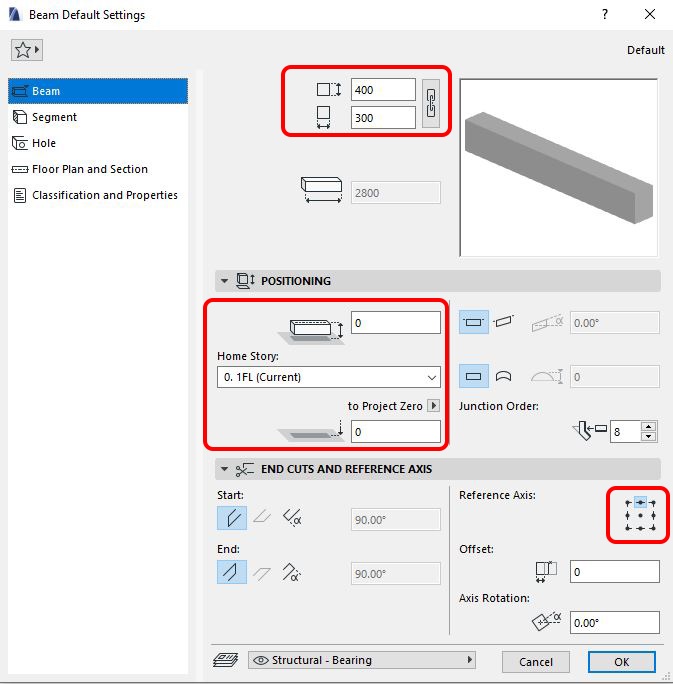
 – Like the Column Tool, the top section of this tab is where you define the beam dimensions.
If the beam has a square cross-section, click the chain icon to lock both dimension values so they remain equal.
– Positioning
This section defines the beam’s vertical position.Home Story: Select the story level that the beam will be linked to.Above the Home Story field is the beam elevation relative to the Home Story.
In the example shown, the value is set to 0, meaning the beam elevation is the same as 1FL.
Since this beam supports the slab of 2FL, its elevation should match the 2nd floor level.
If the height from 1FL to 2FL is 3000 mm, set this value to 3000.
 – Anchor Point: This defines the reference point of the beam, which is used as the basis for positioning.
For beams, the most common anchor point is Top Center, as shown in the example.

In the 3D view, the anchor point is displayed as a dark blue line.
- Segment

In this tab, you select the beam shape, structural material, and surface material.The meaning and configuration are exactly the same as in the Column Settings.
| See more: [Practice Archicad for Beginners] Lesson 05 – Model Column
- Floor Plan and Section / Classification and PropertiesThese tabs control how beams appear in floor plans and sections, as well as their BIM properties.
Since these are more advanced settings, they are not covered in this basic tutorial series.
After finishing all necessary settings, click OK.
 – Like the Column Tool, the top section of this tab is where you define the beam dimensions.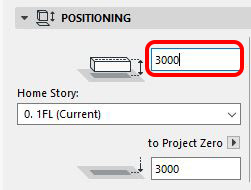
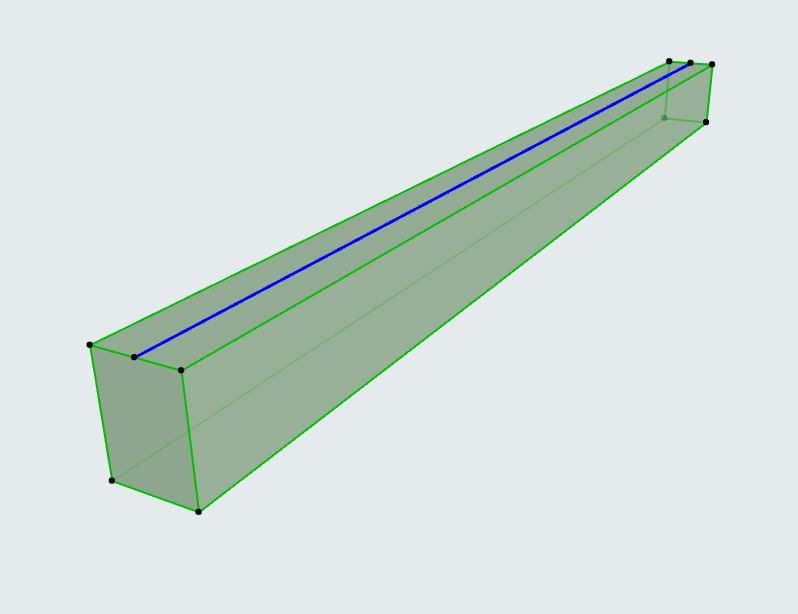
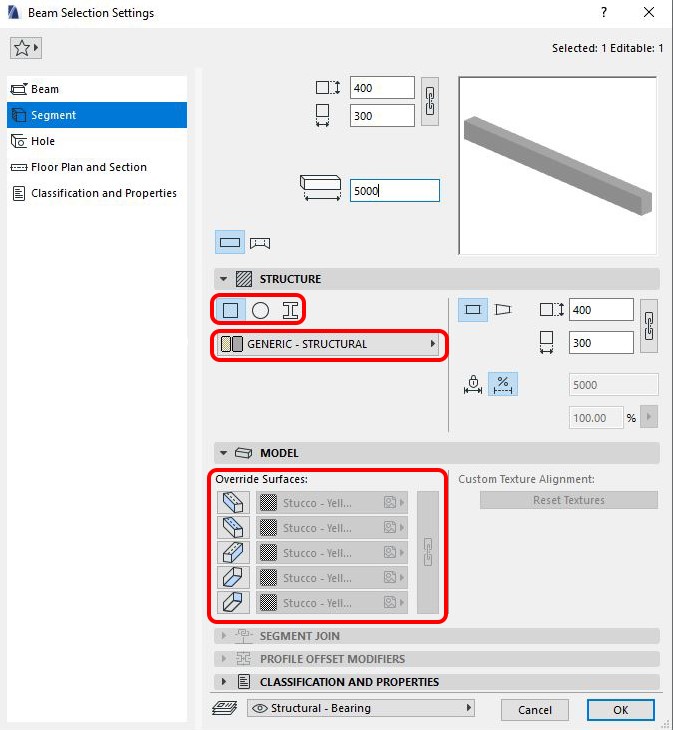
4. Placing Beams
Click on the two columns between which you want to place a beam.
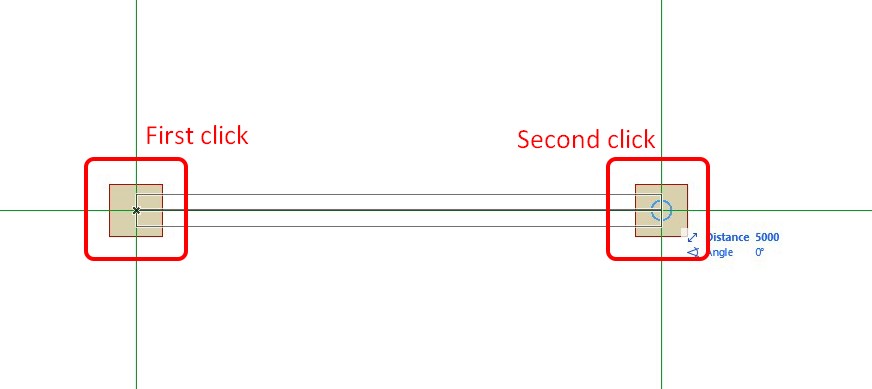
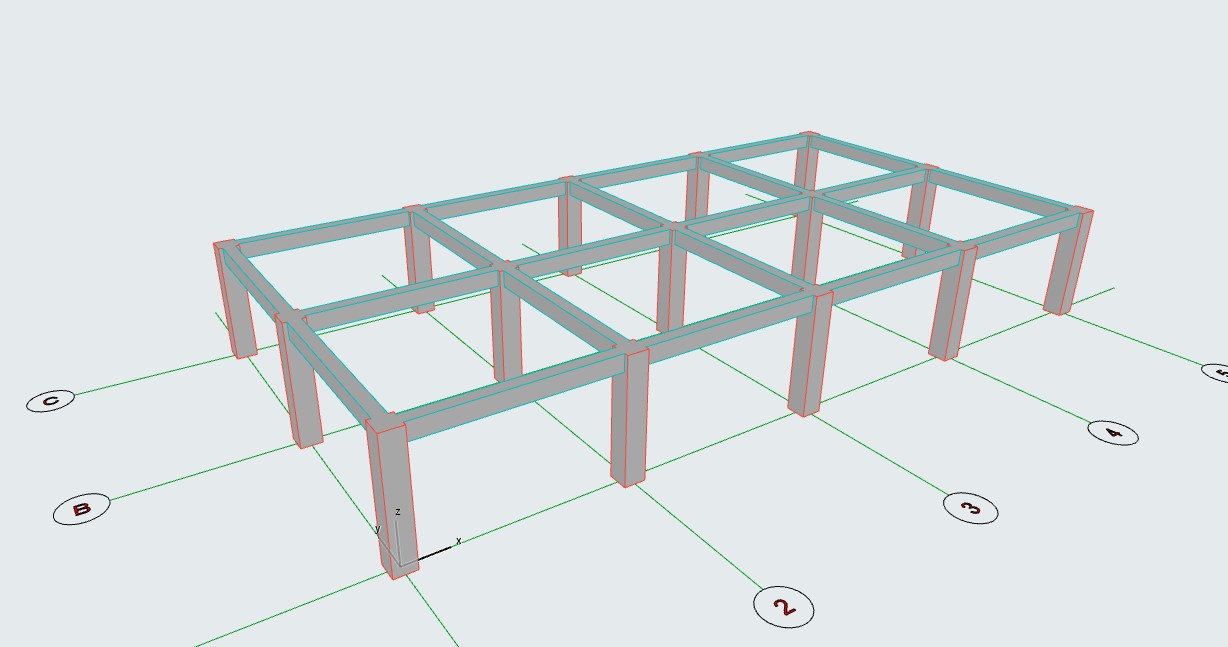
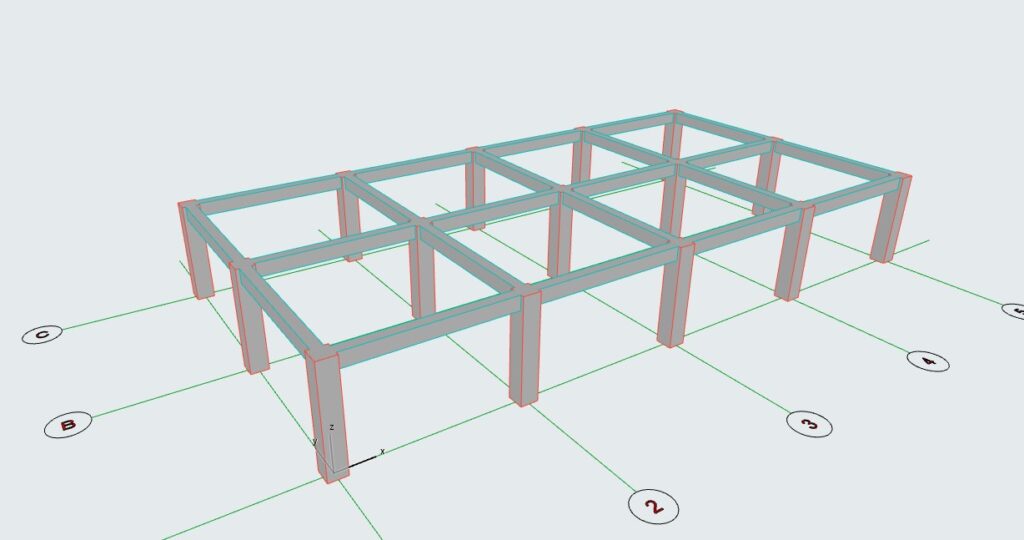
Result
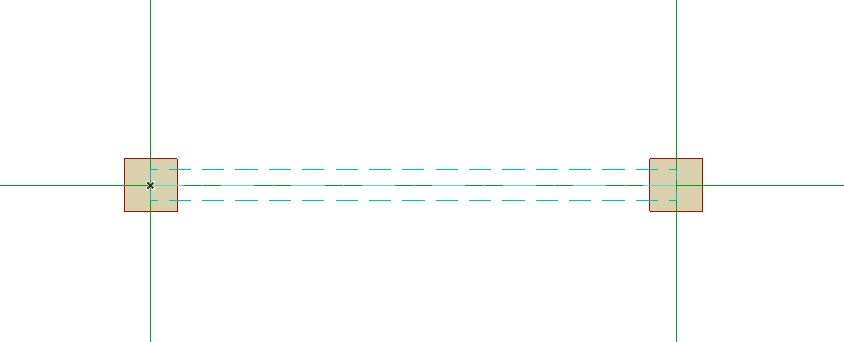
Repeat the same process for other beam locations, or use Copy or Multiply commands to duplicate beams efficiently.
At this point, the structural frame of the first floor, including columns and beams, is complete.
In the next lesson, we’ll continue by modeling walls for this building.
* Notes:
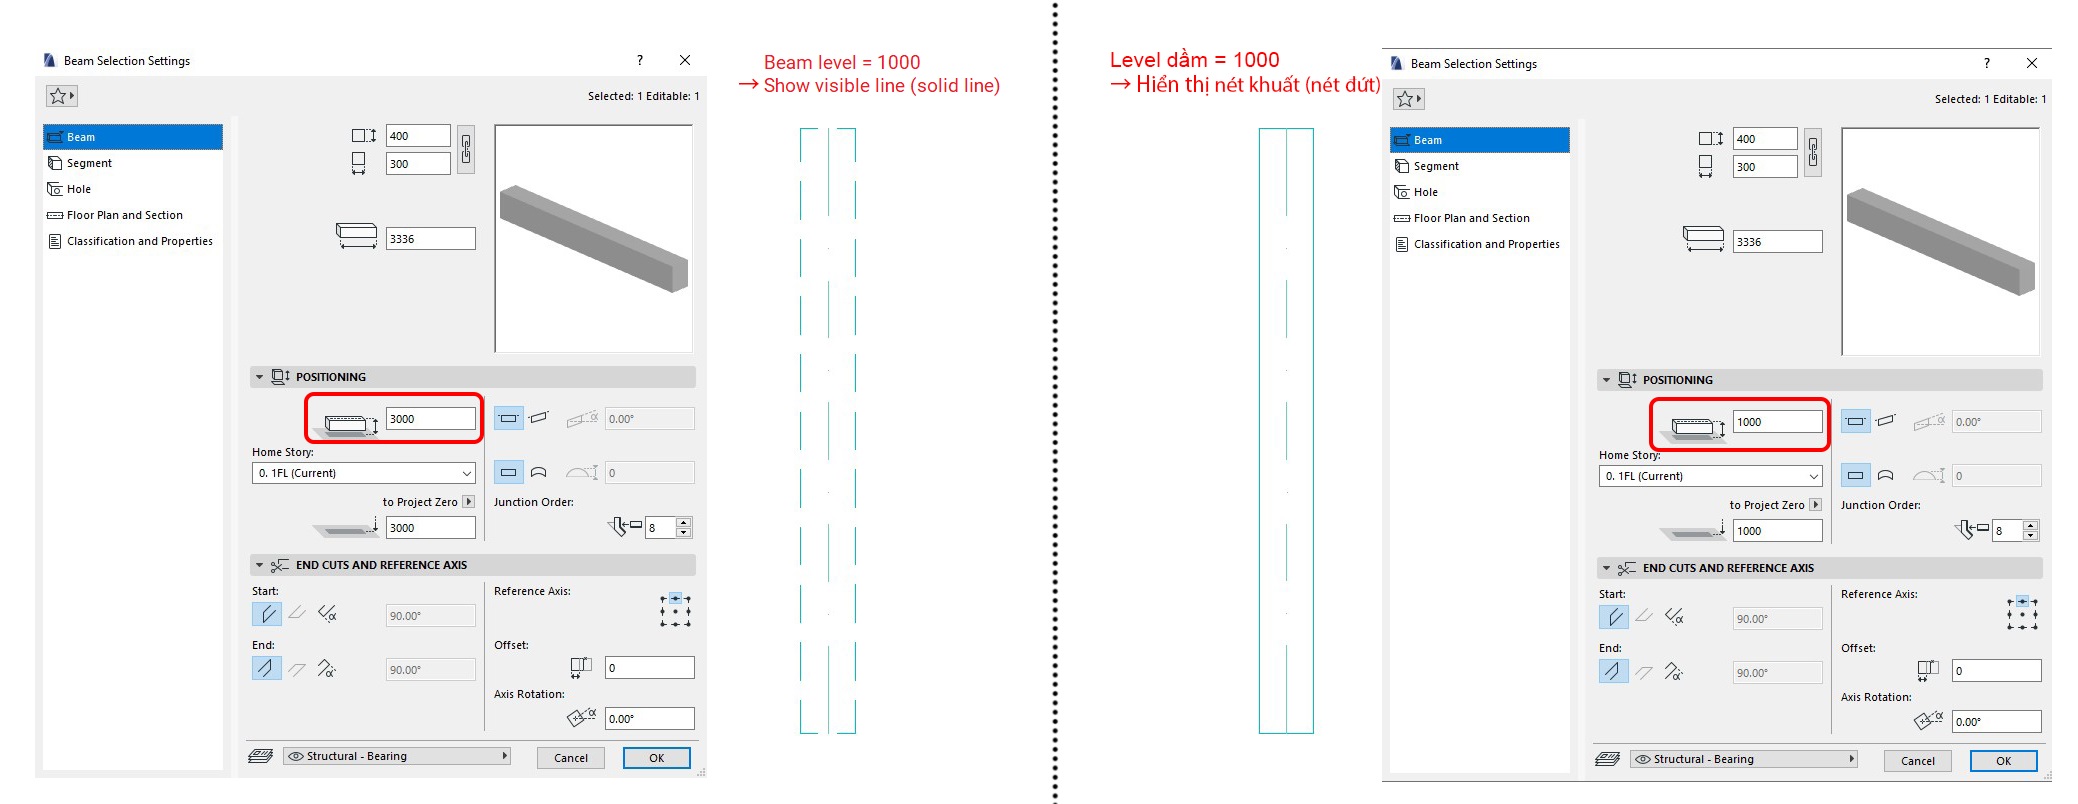
Beam visibility in floor plan views depends on the beam’s elevation relative to the Floor Plan Cut Plane.
By default, the floor plan cut level is FL + 1100 mm.
In simple terms:
If the beam is above this cut level, it will be displayed as a hidden line (dashed).
If the beam is below this cut level, it will be displayed as a visible line (solid).
In this example, the beam elevation is set to 3000 mm, which is higher than the cut plane, so it appears as a dashed line in the floor plan.
Refer to the comparison images below to clearly understand the two cases.