After completing the structural frame in the previous lessons, the next step is to model the Walls.
Once you have already worked with Columns and Beams, you should now be quite familiar with the Settings panels of Archicad tools.
1. Open the Wall Tool Settings
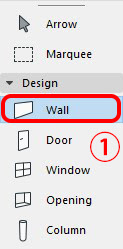
Double-click the Wall icon in the Toolbox to open the Wall Tool Settings dialog.
2. Wall Settings
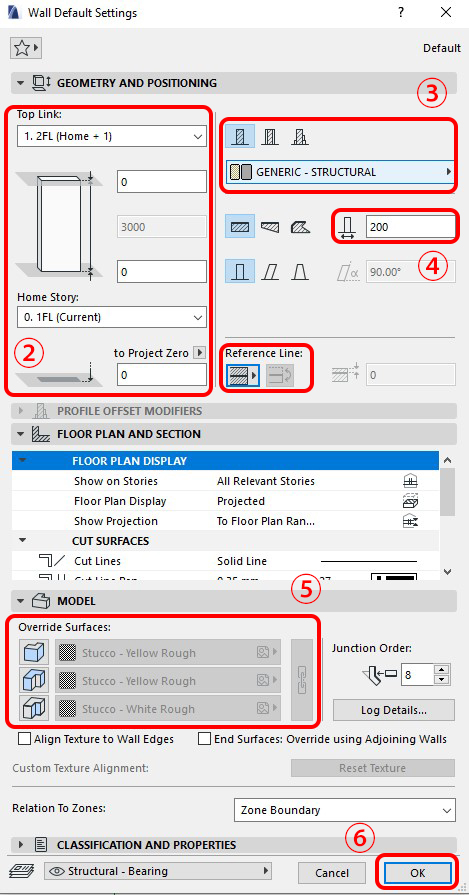
- Geometry and positioning
These parameters are similar to the settings used for Columns and Beams.② Top Link: select 2FLHome Story: select 1FL③ Select the Wall Structure type and Building Material
In this example, choose a Basic Wall and assign the material as shown.④ Wall Thickness
Here, the wall thickness is set to 200 mm.
- Model
⑤ Override Surfaces: Surface material settings (similar to the Column Tool)
In this case, surface override is not enabled.
After finishing all the settings, click OK.
3. Drawing the Walls
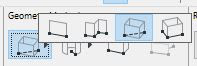
At the top, in the Geometry Method section, you will see different wall input methods, such as:
Single wall
Continuous wall
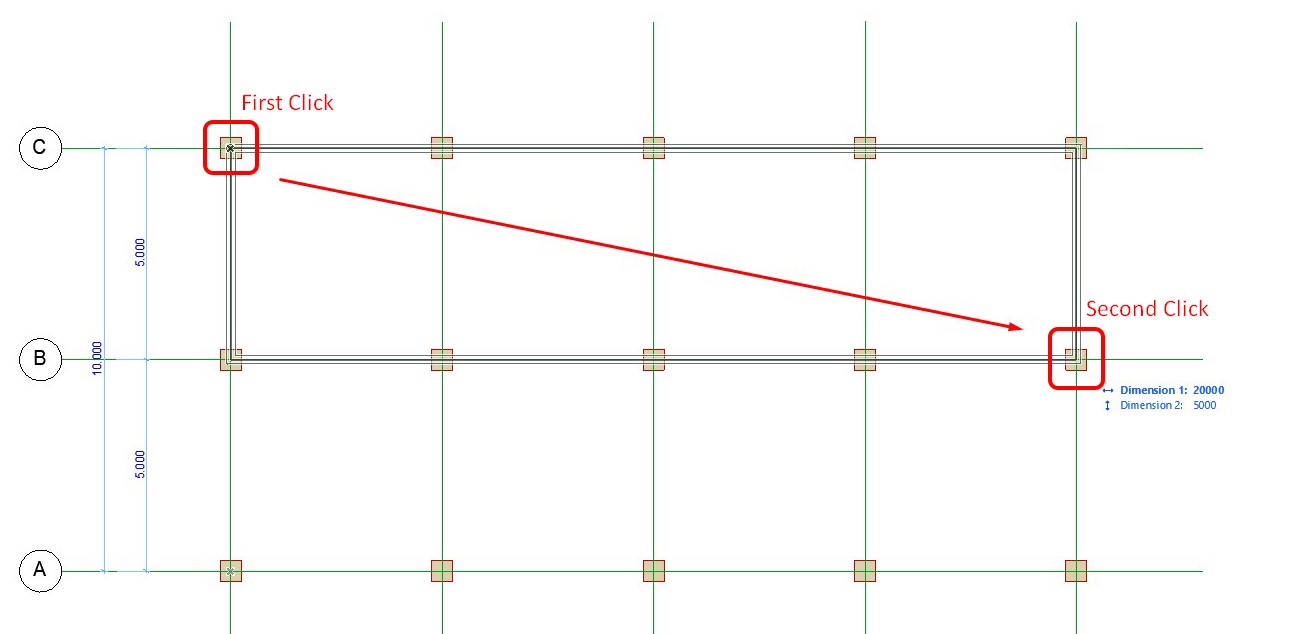
Rectangular perimeter wall
In this example, choose the Rectangular Wall method.
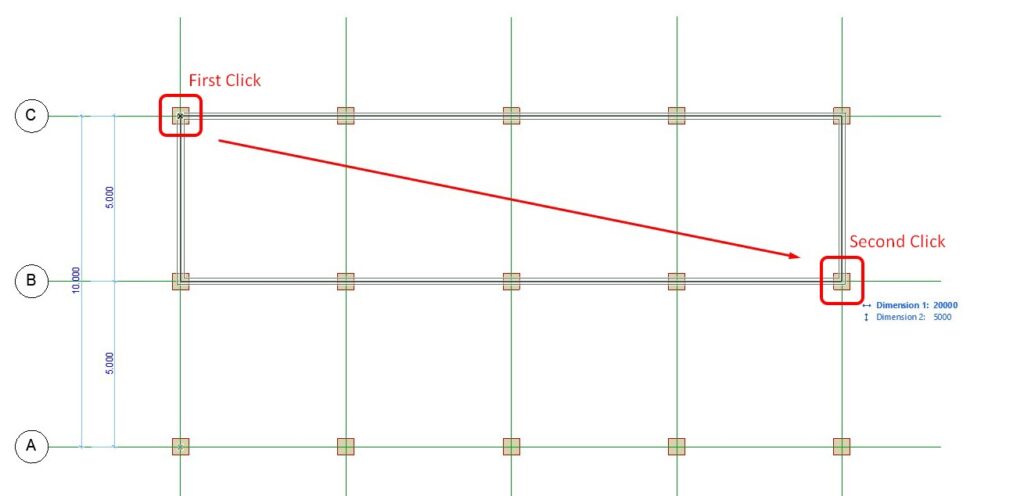
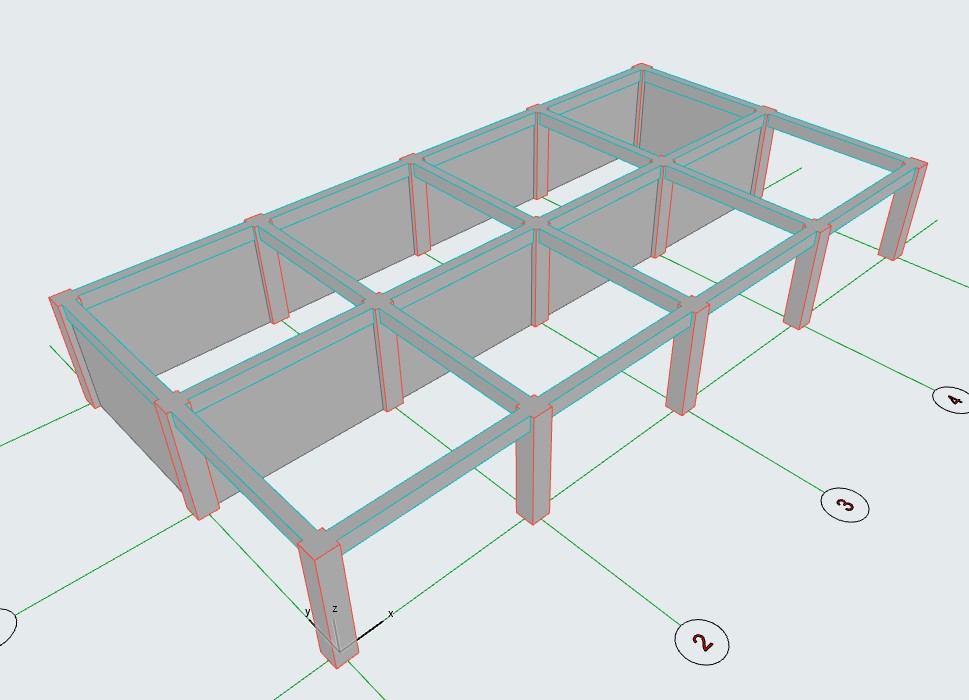
After placing the walls, the 3D view will look like this
Similarly, continue drawing walls in other areas.
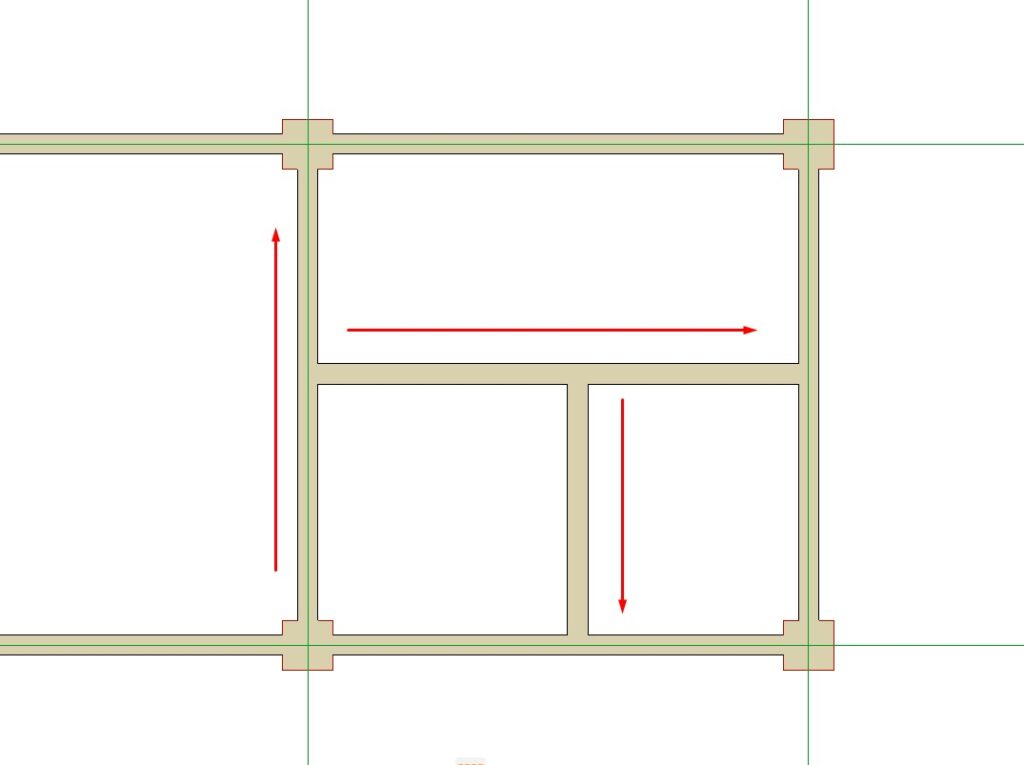
Here, additional interior walls are added to divide the rooms
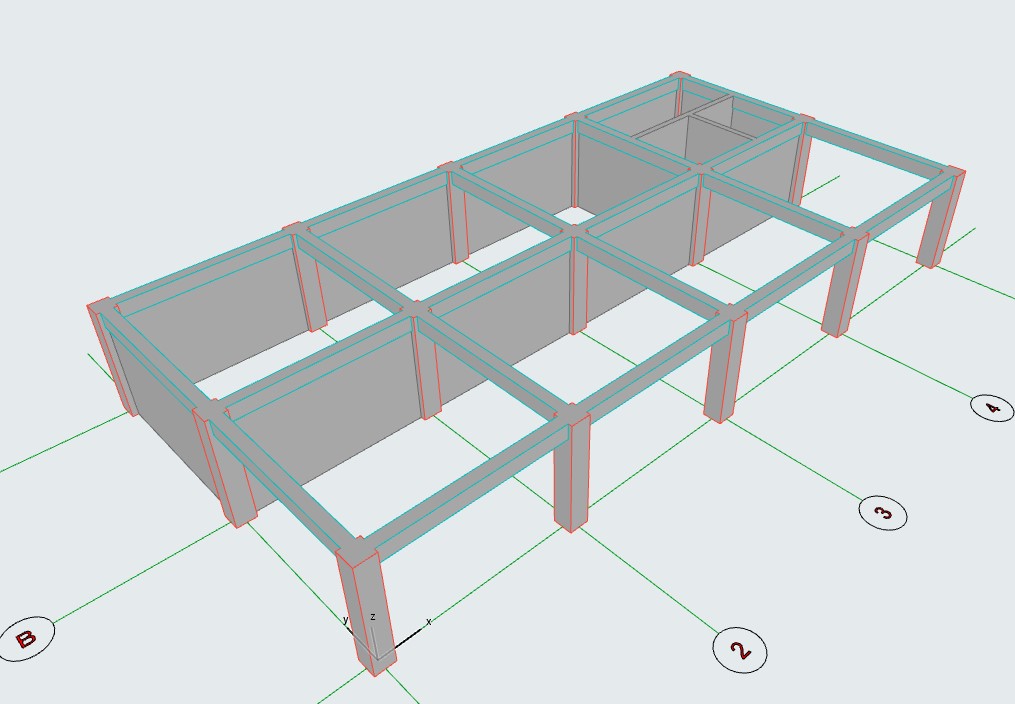
After completing the walls, together with the structural model (columns and beams) created in previous lessons, the model will look like this.
Press F5 to open the 3D view.
In the next lesson, we will learn how to insert Doors and Windows for the building.