Next, we will create a Parapet wall on the roof.
A Parapet wall can be generally understood as a wall used to prevent water from flowing off the roof (as shown in the image below).
Because this wall has a special shape, we cannot model it like a normal wall. Instead, we will use a Complex Profile.

Steps to Follow
1. Open the Profile Manager
Go to Options > Complex Profiles > Profile Manager

The Profile Manager dialog will appear.

2. Create the Parapet Wall Profile
In the Profile Manager dialog, we will create the cross-section for the Parapet wall:
Click New
Name the profile Parapet Wall
Click OK

3. Draw the Profile in the Profile Editor
In the Profile window, use the Fill tool (you can find the Fill tool in the Toolbox, or use the default shortcut Alt + F) to draw the wall profile shape as desired.
| See more: Getting started archicad interface

Step 1: Use the Fill tool to draw the wall cross-section as desired.
Step 2: In the Fill Pattern section, choose the material you want.
Step 3: Pay attention to the origin point in the Profile window (similar to the origin point in the Floor Plan).
This origin point will be the anchor point of the wall, so its position is very important.
Step 4: Select the Wall tool.
In the Use with area, you will see icons for the following tools:
Wall
Beam
Column
Railing
Object
When you select a tool icon, the profile will be applied to that corresponding tool.
In this case, we use the Wall tool to create the Parapet wall, so select the Wall icon.
- Step 5: After finishing the settings, click Save to save the newly created Profile.
4. Assign the Profile to the Wall Tool
Return to the Floor Plan working view.
Select the Wall tool
Open Wall Settings

Step 1: Choose the wall type with a complex profile
Step 2: Select the Parapet Wall profile you just created
Step 3: Click OK
5. Model the Parapet Wall
Proceed to draw the wall along the roof perimeter,
similar to how walls were created on the lower floors in the Wall tutorial.

Open the 3D View to check the newly created Parapet wall model.
 Parapet wall model
Applying Complex Profiles to Other Elements
For other elements with special shapes, including:
Columns
Beams
Railings
…
You can follow the same method.
Column

Draw the Column cross-section > select the Column icon in the Use with section
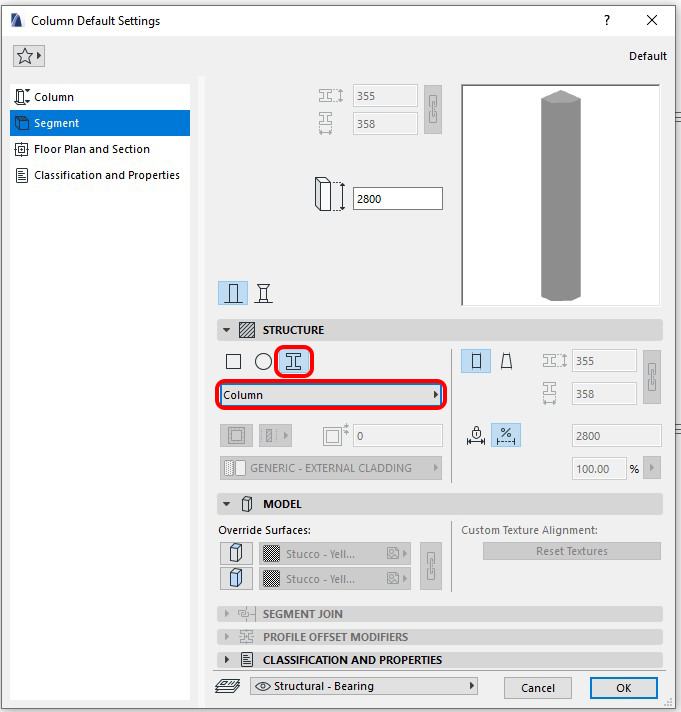
In Column Settings, choose the correct corresponding Profile
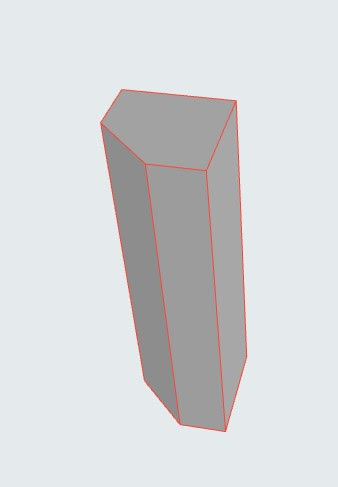
Column model with the applied Profile
Beam

Draw the Beam cross-section > select the Beam icon in the Use with section

In Beam Settings, choose the correct corresponding Profile

Beam model with the applied Profile
With this lesson, we have completed the building model.
In the next lessons, I will continue guiding you through:
Modeling the site/terrain around the building
Adding some basic Objects