In the next lesson of this series, after modeling the structure and walls, we will add Doors to the building.
1. Open the Door Tool Settings
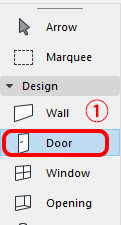
Similar to the previous tools, double-click the Door icon in the Toolbox to open the Door Settings dialog.
2. Door Settings
On the left panel, you will see a list of door types available in the Archicad library.
In the Hinged Door folder, choose the simplest option: Door.
On the right panel, set up the door parameters as follows:
Width: 900
Height: 2100
Sill to Story (Door Level): 0
Reveal to Wall Face: keep the default setting
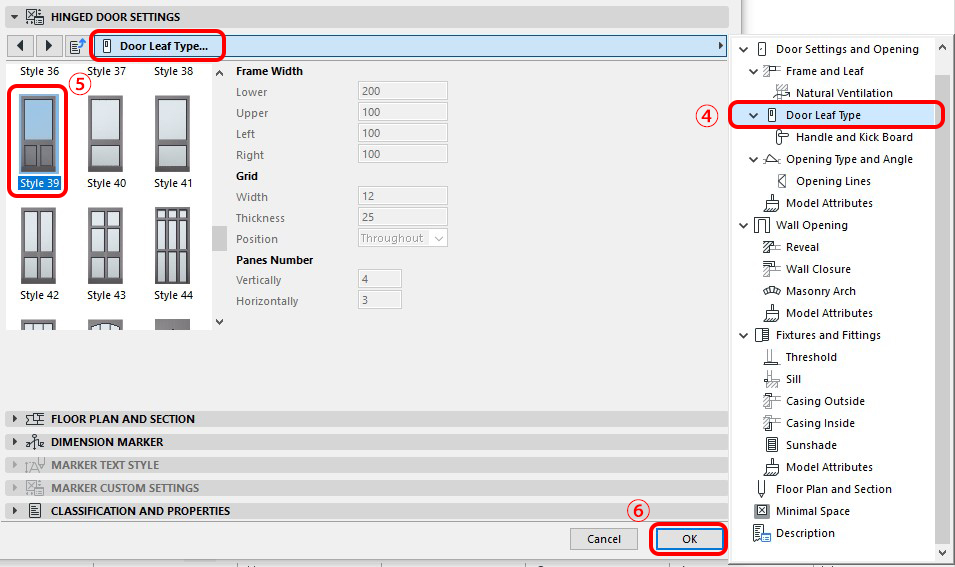
In the Hinged Door Settings section, select Door Leaf Type and choose the door leaf style you prefer.
Click OK to confirm the settings.
Click on the Wall where you want to place the door.
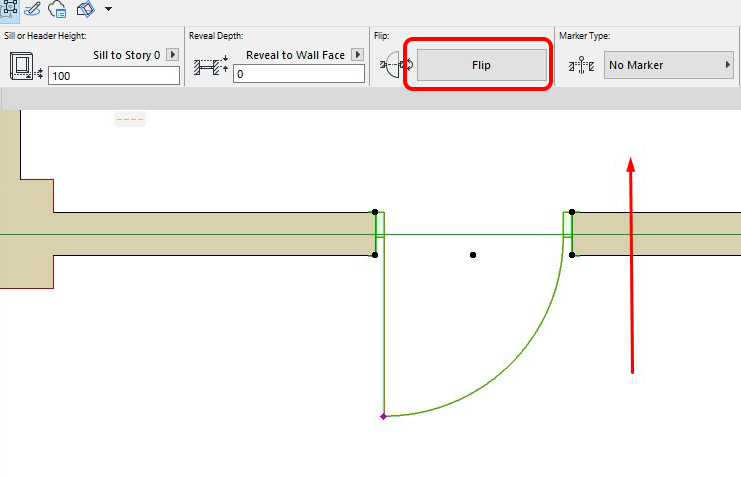
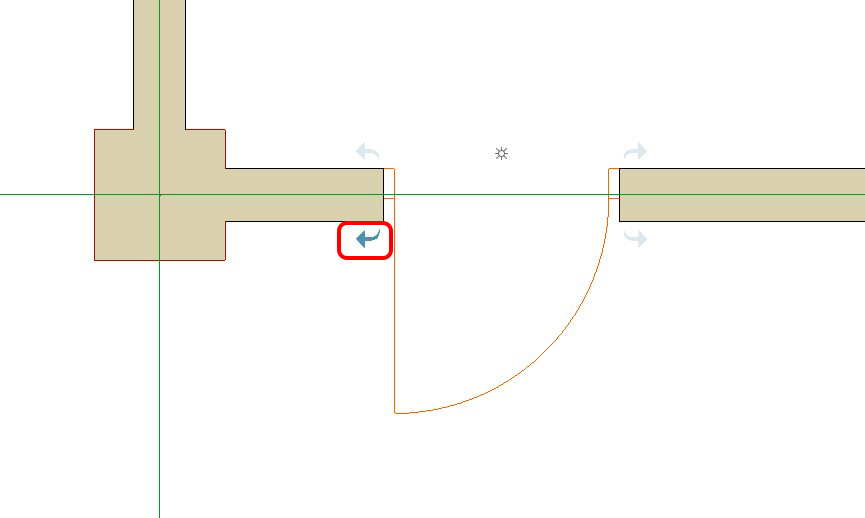
After placing the door in the wall, choose the opening direction.
Move the mouse to preview the door swing, then click to confirm the desired direction.
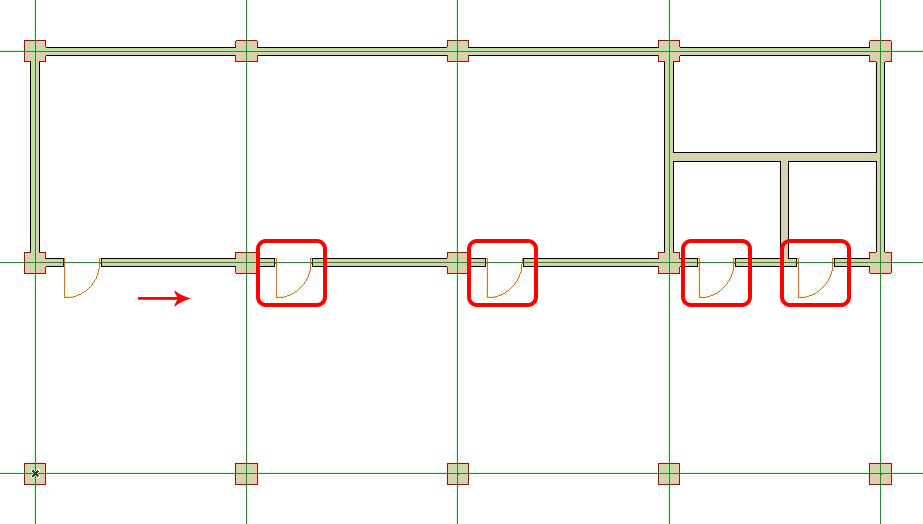
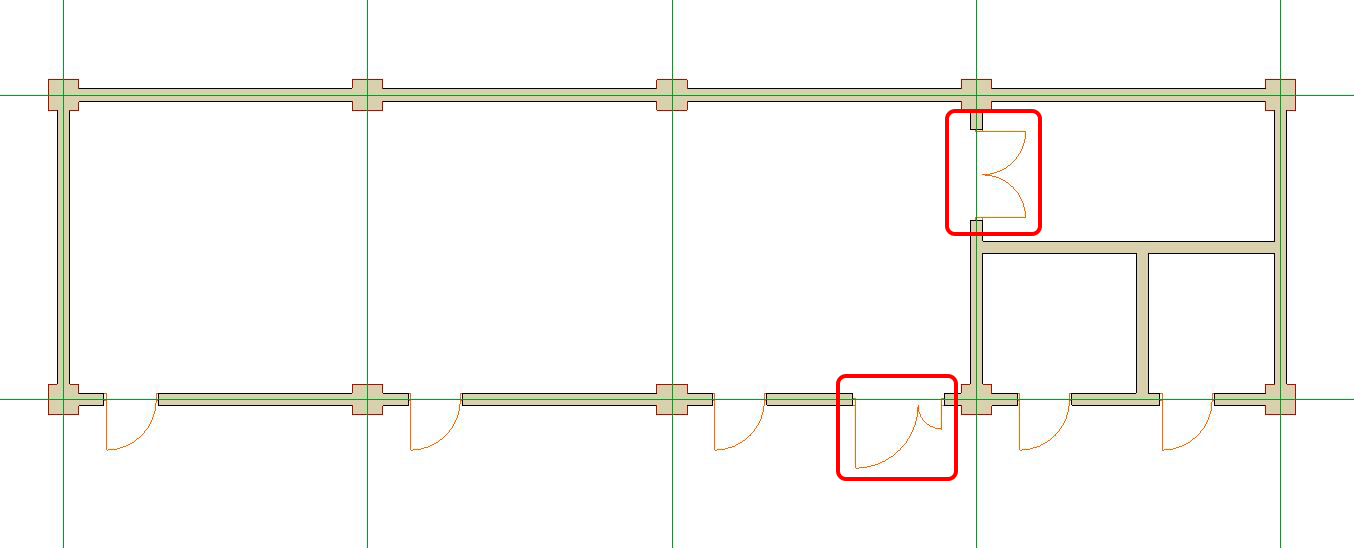
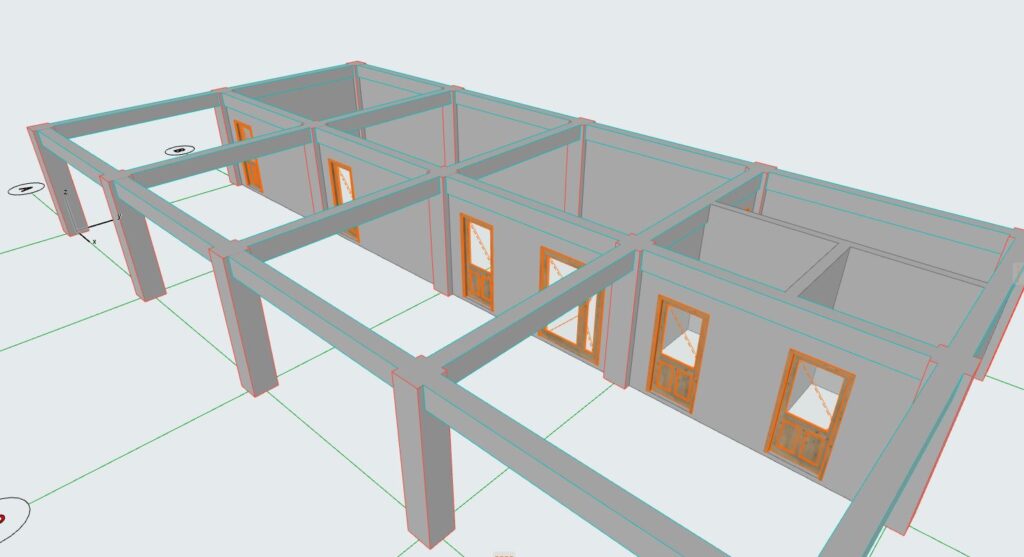
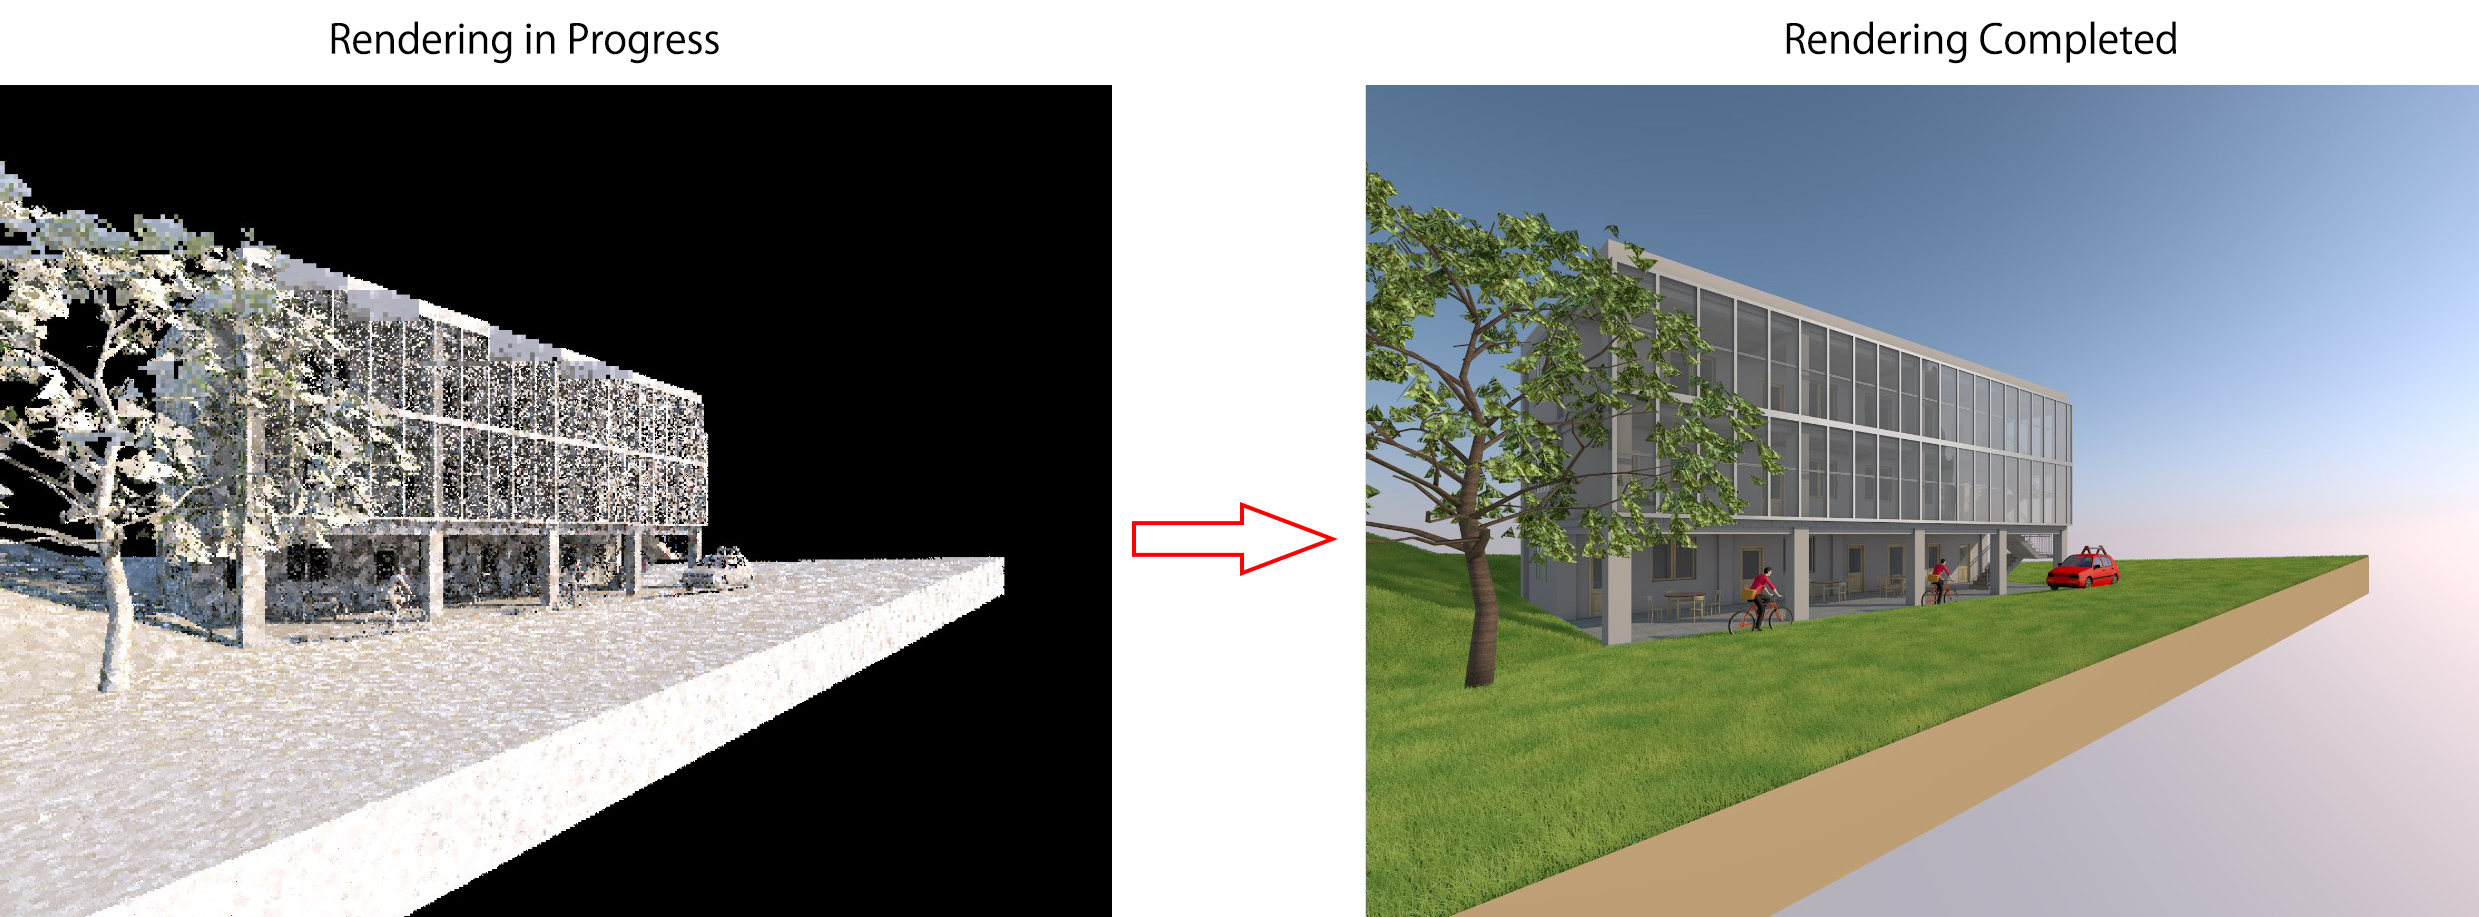
Model after adding doors