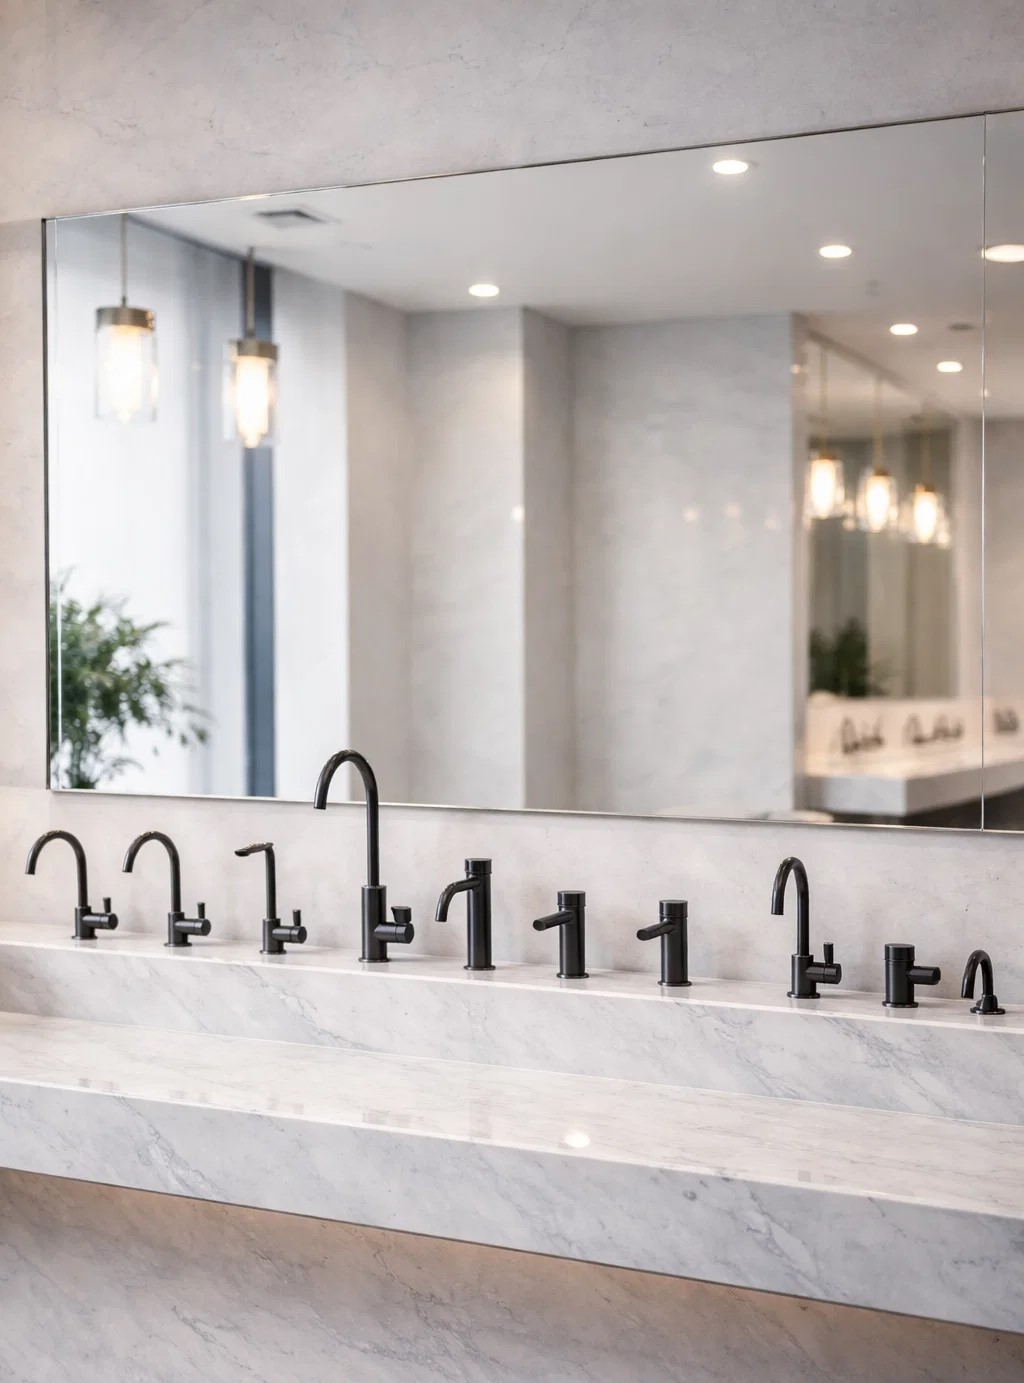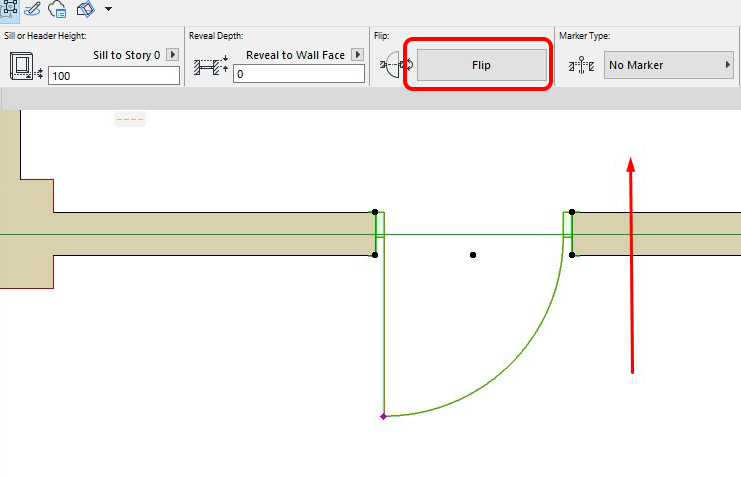
In the next lesson of this series, after modeling the structure and walls, we will add Doors to the building. 1. Open the Door Tool Settings Similar to the previous tools, double-click the Door icon in the Toolbox to open the Door Settings dialog. 2. Door Settings On the left panel, you will see a […]
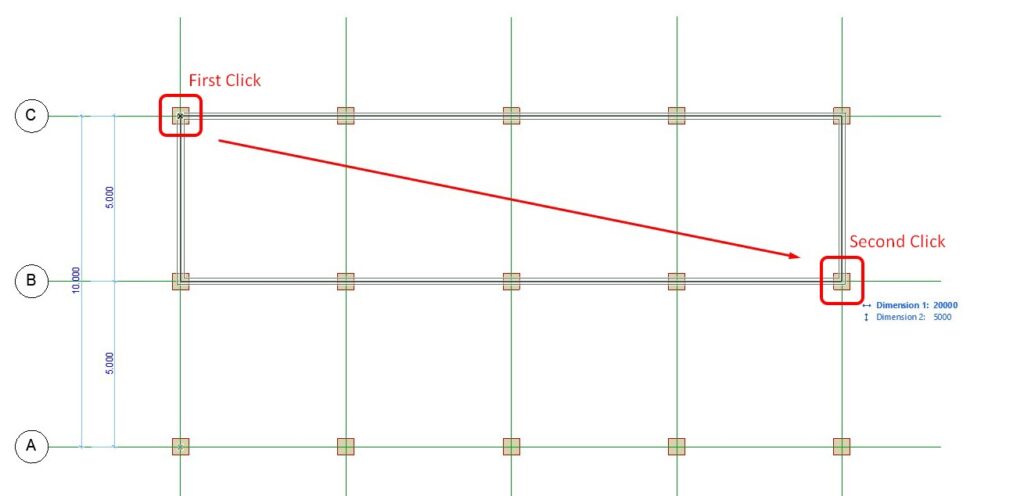
After completing the structural frame in the previous lessons, the next step is to model the Walls. Once you have already worked with Columns and Beams, you should now be quite familiar with the Settings panels of Archicad tools. 1. Open the Wall Tool Settings Double-click the Wall icon in the Toolbox to open the […]
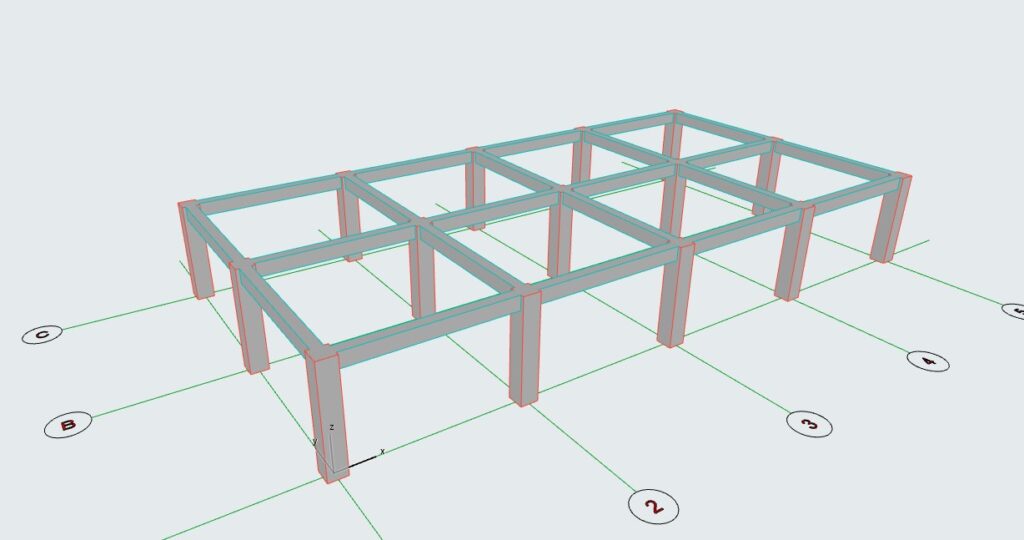
In the previous lesson, we learned how to model columns for the building. In this article, I’ll guide you through modeling beams to complete the structural frame of the building. 1. In the previous lesson, the columns were created on the first floor, so now we will place beams on the 1st floor as well. […]
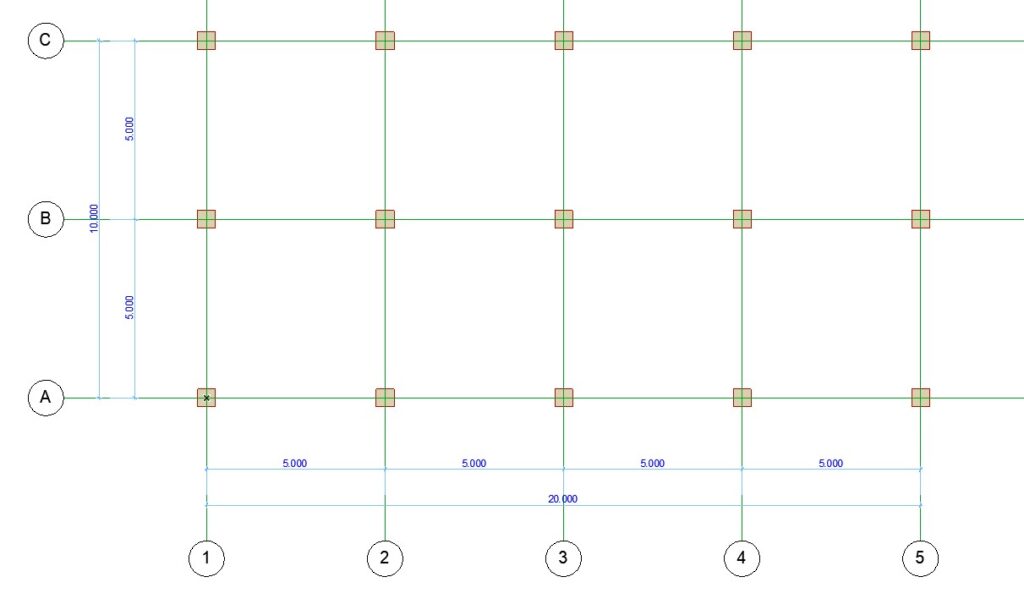
After setting up the initial configuration, including story heights and the grid system, the next step is to start modeling the building.We’ll begin by placing the columns. 1. Place Columns on the First Floor In the Navigator, double-click the view 0. 1FL to open the first-floor plan. 2. Double-click the Column Tool icon on […]
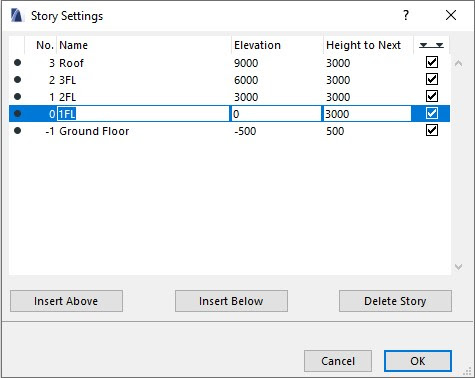
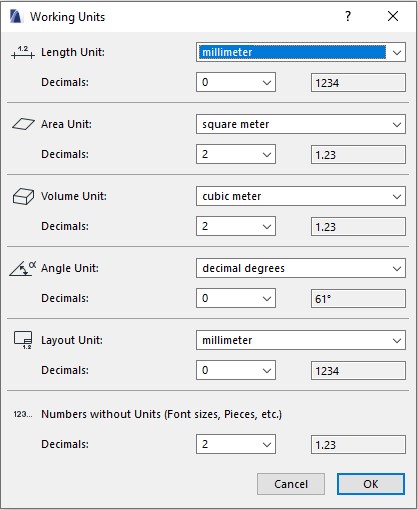
After importing the grid system in the previous lesson, the next important setup is Floor Level Settings.Here, you’ll define the number of stories, their heights, and how each level is displayed in elevation and section views through Story Settings. Go to Design > Story Settings… (Default shortcut: Ctrl + 7) In this panel, you can […]
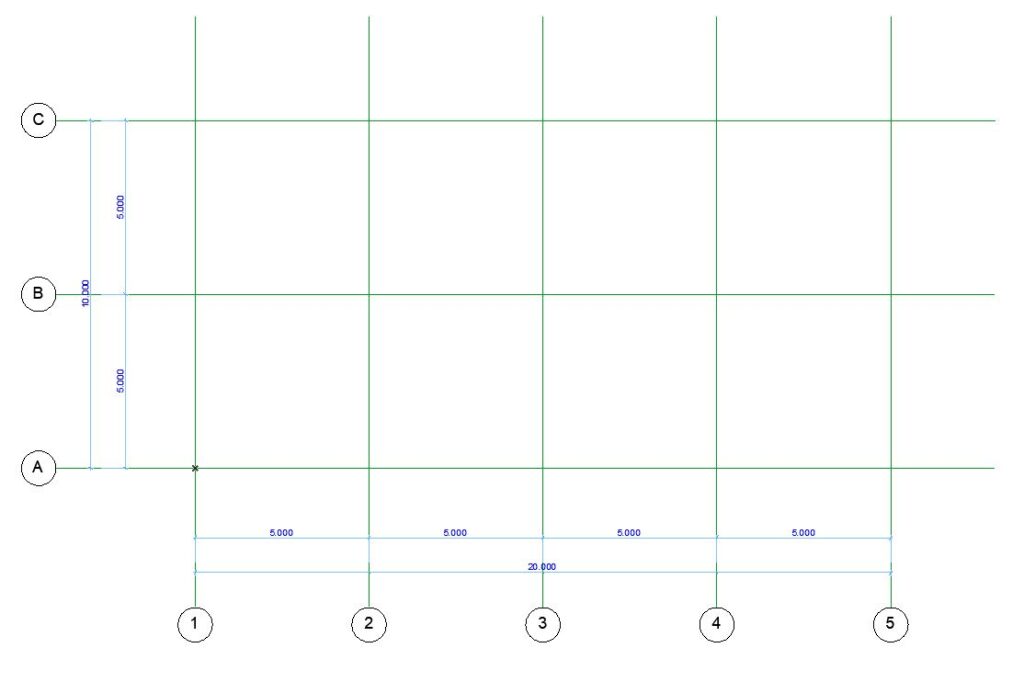
One of the very first settings you need to make when starting a new project is to set up the grid system for your building. There are two ways to create a grid system in Archicad. Method 1: Using Grid System… Follow these steps to create a grid system with Grid System: Go to Design […]